In today’s digital age, having a wireless portable monitor can significantly enhance your productivity and flexibility. Whether you’re a remote worker, a student, or a gaming enthusiast, the ability to connect a monitor wirelessly to various devices can make your work and play more efficient. This guide will walk you through the steps to connect your wireless portable monitor to any device, ensuring you get the most out of this versatile tool.
Understanding Wireless Portable Monitors
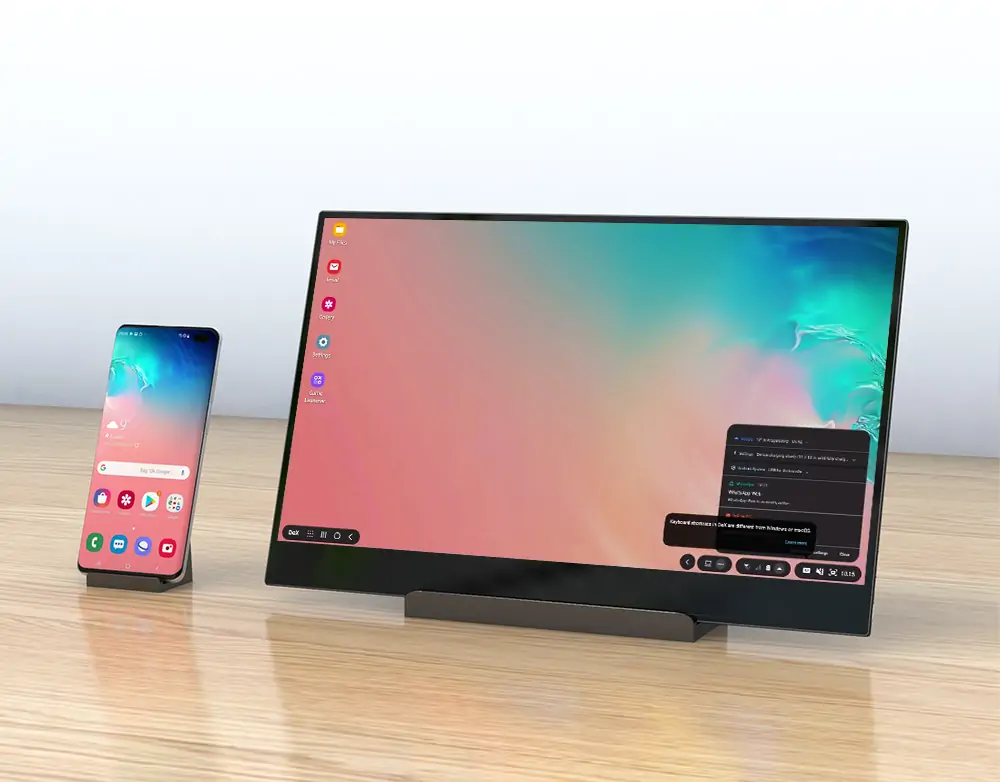
Before diving into the connection process, it’s essential to understand what a wireless portable monitor is. These monitors are lightweight, compact displays that can connect to your primary device without the need for cumbersome cables. They utilize wireless technologies such as Wi-Fi Direct, Bluetooth, or proprietary software to create a seamless connection. This feature allows for easy mobility and the flexibility to set up your workspace anywhere.
Benefits of Using a Wireless Portable Monitor
1. Increased Productivity
Having an additional screen can boost productivity by allowing you to multitask effectively. You can keep emails, chat applications, or research open on one screen while working on your primary device.
2. Enhanced Mobility
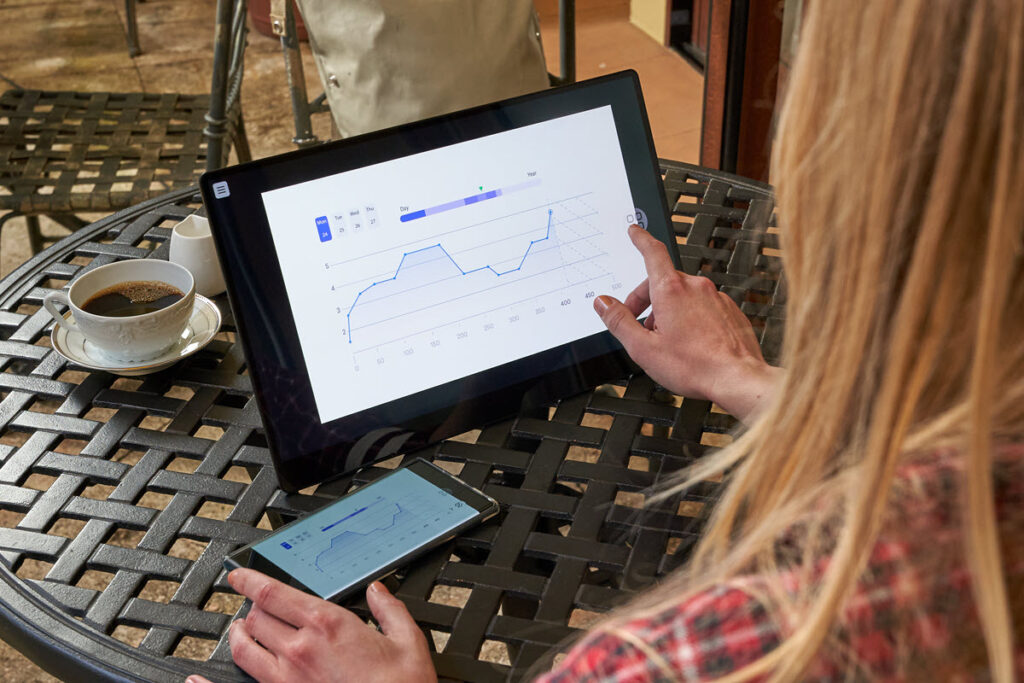
Wireless portable monitors are designed for ease of transport. You can set them up in a café, during meetings, or while traveling without being tethered to your primary device.
3. Improved Collaboration
For professionals who often collaborate with others, a wireless monitor makes it easy to share your screen without complicated setups, enhancing teamwork and communication.
How to Connect Your Wireless Portable Monitor
Step 1: Check Compatibility
Before you start, ensure that your wireless portable monitor is compatible with your device. Most monitors work with various platforms, including Windows, macOS, Android, and even gaming consoles. Check the specifications in the user manual or on the manufacturer’s website.
Step 2: Power On the Monitor
Turn on your wireless portable monitor. Some monitors might require you to charge them before the first use, so ensure it has sufficient battery life. Look for any indicator lights that show the monitor is powered on and ready for connection.
Step 3: Enable Wireless Mode
Access the monitor’s settings to enable wireless mode. This is often done by navigating through the on-screen menu. Look for options labeled “Wireless,” “Wi-Fi,” or “Screen Mirroring,” depending on the brand.
Step 4: Connect to Your Wi-Fi Network
Most wireless portable monitors need to be connected to the same Wi-Fi network as your primary device. Select your network from the monitor’s settings and enter the password if prompted. Ensure that your Wi-Fi connection is stable for optimal performance.
Step 5: Connect Your Device
For Windows Users:
- On your Windows device, go to Settings > Devices > Bluetooth & other devices.
- Click on Add Bluetooth or other device.
- Select Wireless display or dock.
- Your wireless portable monitor should appear in the list. Click on it to connect.
For macOS Users:
- Open System Preferences.
- Select Displays.
- Click on the AirPlay Display dropdown menu and select your wireless monitor.
- Choose Mirror Display if you want the same content on both screens, or select Use as Separate Display for extended use.
For Android Devices:
- Swipe down to access the quick settings panel.
- Look for Cast or Screen Mirroring.
- Select your wireless monitor from the list of available devices.
For iOS Devices:
- Open the Control Center by swiping down from the upper-right corner.
- Tap on Screen Mirroring.
- Choose your wireless portable monitor from the list.
Step 6: Adjust Display Settings
After connecting, you may want to adjust your display settings for optimal use. For Windows users, you can adjust resolution and orientation in the Display settings. Mac users can use the Displays menu to manage settings. Ensure that your display settings match your preferences for a better viewing experience.
Step 7: Troubleshooting Connection Issues
If you encounter problems connecting your wireless portable monitor, consider the following troubleshooting tips:
- Check Compatibility: Ensure that both devices are compatible with each other.
- Wi-Fi Connection: Make sure both devices are connected to the same Wi-Fi network.
- Distance: Ensure that the devices are within a reasonable range to maintain a stable connection.
- Software Updates: Check for any software updates on both your wireless monitor and primary device that might resolve connectivity issues.
Connecting your wireless portable monitor to any device is a straightforward process that can significantly enhance your productivity and versatility. Whether you’re working from home, in a café, or on the go, having an additional screen can make a world of difference. With the right setup, you can take full advantage of the features a portable monitor offers.
For high-quality wireless portable monitors that cater to your needs, explore the offerings from Onext. Our monitors are designed to deliver exceptional performance and ease of use, ensuring you stay productive wherever you are. Visit us at Onext to discover how we can enhance your workspace.
ONext Featured product recommendation
-
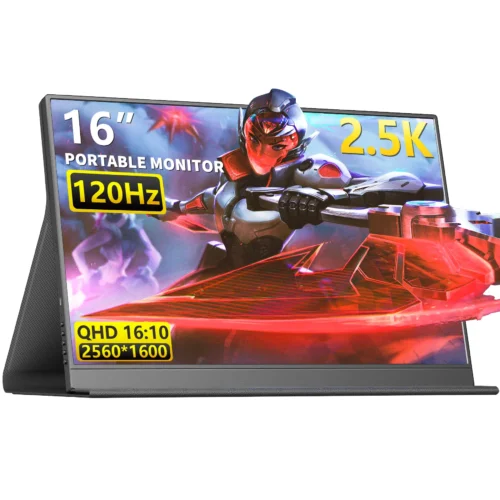 16 Inch Portable Monitor 2560*1600 FullHD 120Hz Gaming Computer Monitor Wide 16:9 Travel Monitors for Laptop Mac Phone Tablet PS4 Switch Xbox Built In Speakers,HDMI/Type-C Monitor
 -
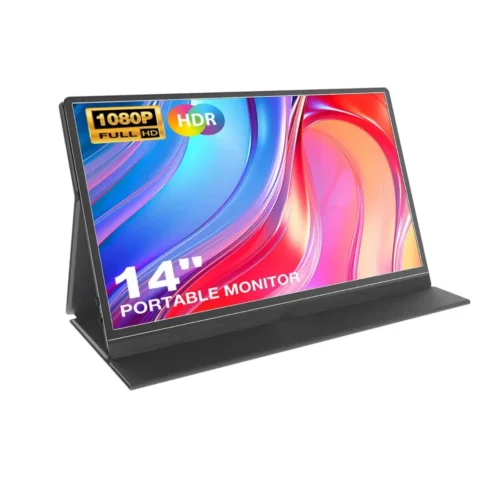 14.0″ Ultra Slim Monitor FHD 1080P External Display with Dual Speakers Second Screen for Laptop PC Phone Xbox PS4/5 Switch – A1 GAMUT Slim
 -
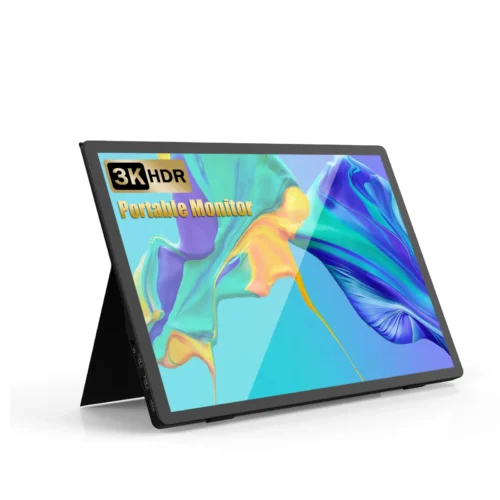 13.5 Inch FHD 3K Portable Displays Screen Slim Lightweight HDR Travel Monitor for external monitors for Laptop Xbox PS5 Switch
 -
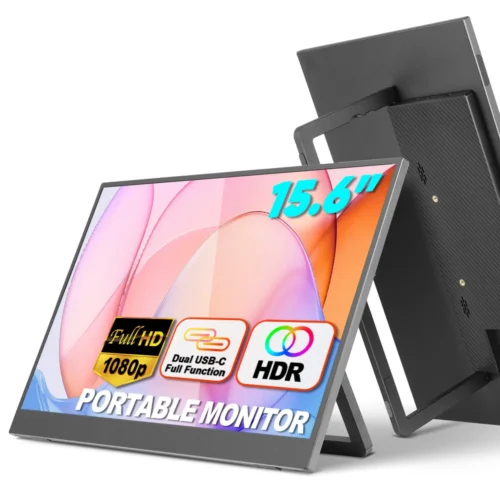 15.6 Inch FHD 1080P Portable Displays USB C HDMI External Display for Laptop Second Monitor
 -
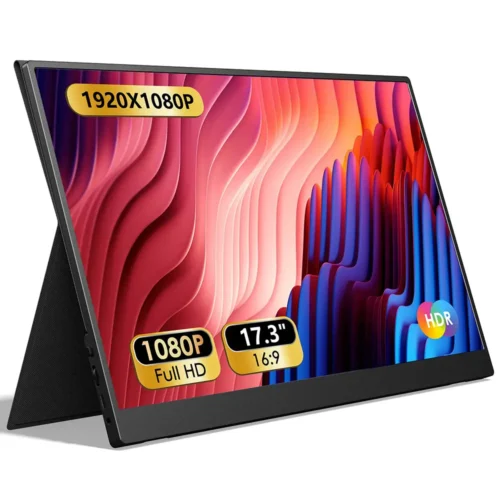 17.3” USB Portable Monitor 1080P Full HD IPS, 60Hz, USB Type-C, Eye Care, HDMI Port, FSC Certified
 -
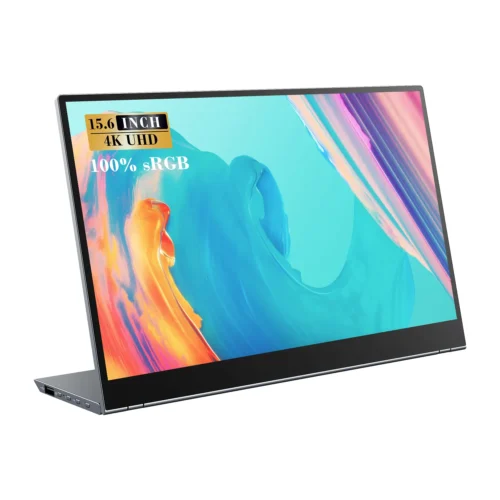 15.6 Inch FHD 4K Portable Displays Screen Ultra-Slim IPS Display Use For Multiple Screen Laptop
