In today’s multitasking world, screen extenders are invaluable tools for those looking to expand their digital workspace on a Mac. Yet, setting up and using these extenders effectively often requires guidance. With so many options on the market, identifying the best laptop screen extender for Mac can feel overwhelming. This guide provides a step-by-step walkthrough on installing and setting up a Mac screen extender, covering everything from cables to software setup, troubleshooting, and ensuring optimal performance.
Table of Contents
- Why You Need a Laptop Screen Extender for Mac
- Choosing the Best Laptop Screen Extender for Mac
- Pre-Installation Checklist: Cables, Adapters, and Compatibility
- Step-by-Step Installation Guide
- Setting Up and Configuring Display Settings on Mac
- Software and Tools for Optimal Mac Screen Extension
- Troubleshooting Common Screen Extender Issues on Mac
- Best Practices for Using a Laptop Screen Extender
- Summary and Recommendations
1. Why You Need a Laptop Screen Extender for Mac
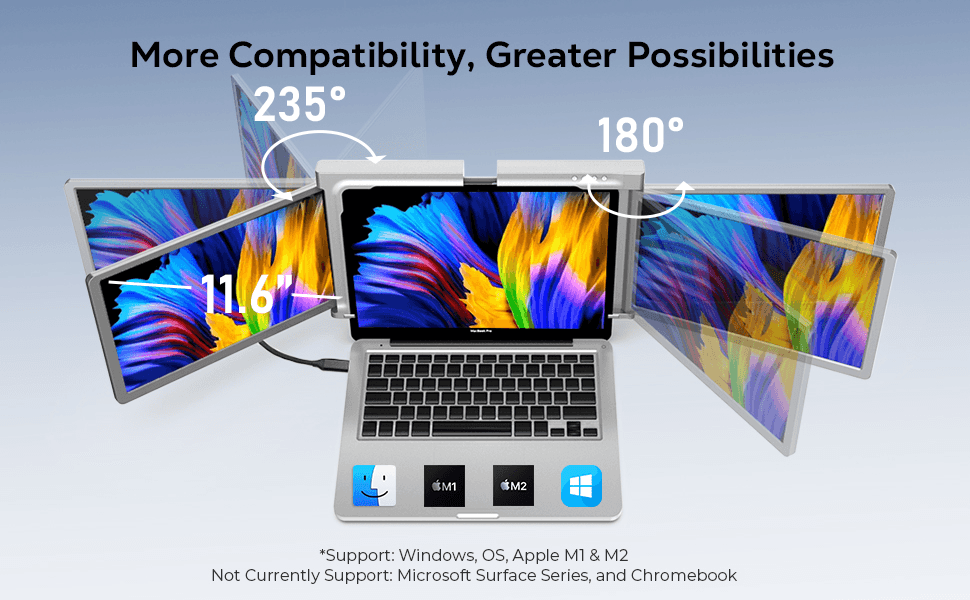
Mac laptops, known for their sleek designs and advanced performance, are widely used by creative professionals, developers, and productivity-focused users. However, when working on a Mac, a single screen can feel limiting. With the best laptop screen extender for Mac, you can significantly boost your productivity, enabling:
- Enhanced multitasking: Work on multiple projects or windows simultaneously.
- Better organization: Keep reference material on one screen and active work on another.
- Seamless presentations: Extend your screen to showcase content professionally.
2. Choosing the Best Laptop Screen Extender for Mac
When selecting the best laptop screen extender for Mac, consider several key features:
| Feature | Importance | Recommendations |
|---|---|---|
| Compatibility | Ensures your Mac supports the extender | Look for USB-C or Thunderbolt compatibility |
| Resolution Support | High resolution for better visuals | 1080p minimum; 4K preferred for high-quality displays |
| Portability | Easy to carry along with a laptop | Lightweight designs that fit your laptop bag |
| Multi-Screen Support | Capability for dual or triple setups | DisplayLink or dual-port extenders |
| Refresh Rate | Smooth visuals for video or design | 60Hz for regular use; 120Hz+ for high-demand tasks |
3. Pre-Installation Checklist: Cables, Adapters, and Compatibility
To set up a screen extender, first ensure you have the correct cables and adapters. Not all Mac models have the same ports, so compatibility is essential.
Essential Items:
- Display Cables: USB-C, Thunderbolt, or HDMI, depending on your Mac’s ports and the extender’s requirements.
- Adapters: Use USB-C to HDMI or USB-C to DisplayPort adapters if your display’s port differs.
- Power Cables: High-powered extenders may need separate power sources, especially for larger or higher-resolution screens.
4. Step-by-Step Installation Guide
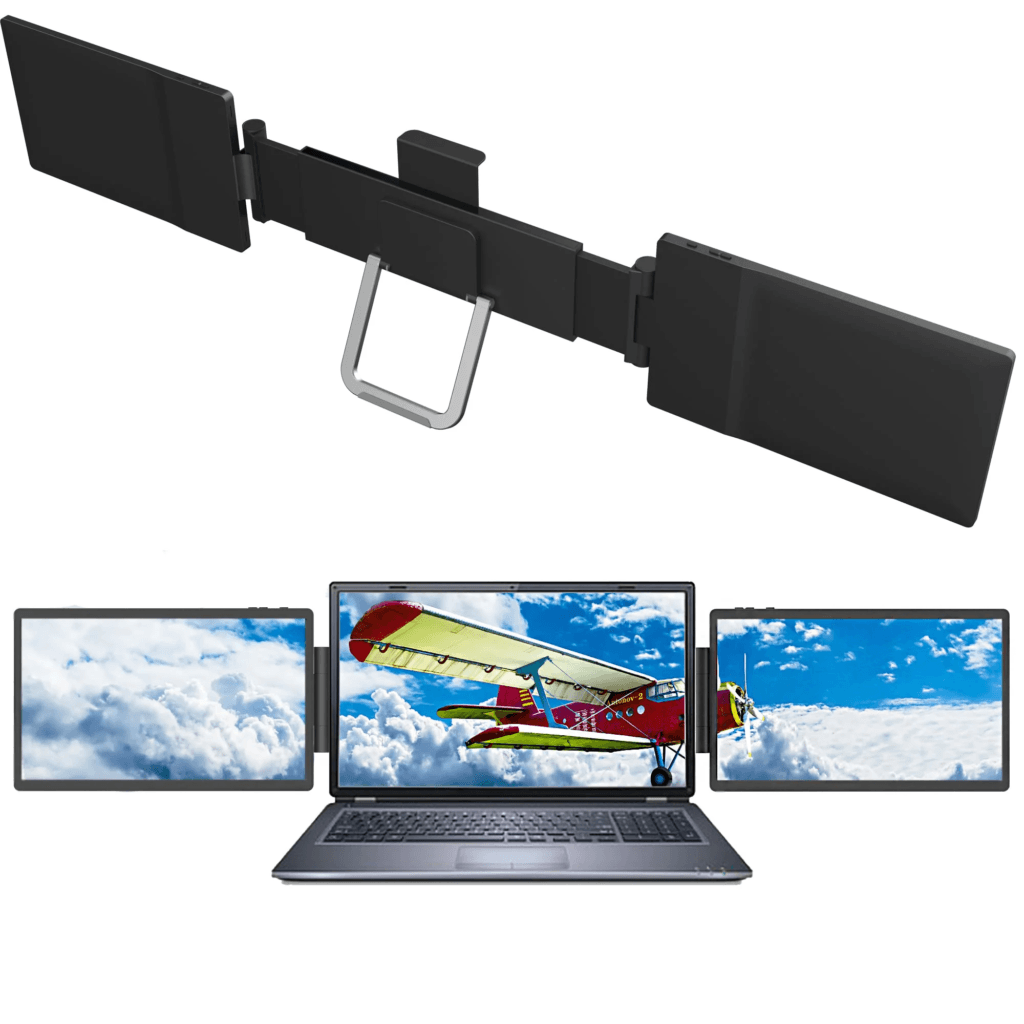
With your materials ready, follow these steps to install the best laptop screen extender for Mac:
- Connect the Extender to Your Mac:
- Plug in your extender’s primary cable (e.g., USB-C or Thunderbolt) into your Mac’s compatible port.
- Ensure secure connections on both ends, especially if using an adapter.
- Check Display Settings:
- Go to Apple Menu > System Preferences > Displays.
- Here, you’ll see connected displays, where you can arrange, mirror, or extend screens.
- Adjust Display Arrangement:
- Drag the display icons to match the physical setup on your desk. Positioning is crucial for seamless mouse and window movement.
- Set Primary and Secondary Screens:
- In the Display Preferences, designate one screen as the primary display for the menu bar and dock.
- This can improve productivity by keeping taskbars on a dedicated screen.
- Customize Resolutions and Brightness:
- Choose the appropriate resolution for each display, adjusting brightness and color profiles as needed.
5. Setting Up and Configuring Display Settings on Mac
Proper configuration ensures you’re getting the most from your best laptop screen extender for Mac.
- Resolution and Scaling: Opt for high resolutions, especially for tasks like design and coding. Under Displays, select Scaled and choose your preferred setting.
- Color Calibration: Set distinct color profiles to optimize contrast and color reproduction for each screen.
- Display Arrangement: Drag screens to represent their physical locations. Correct arrangement ensures a fluid experience.
| Display Option | Description |
|---|---|
| Extended Display | Shows different windows on each screen |
| Mirror Display | Duplicates content across screens |
| Night Shift | Reduces blue light, easing eye strain at night |
| True Tone | Automatically adjusts color and brightness |
6. Software and Tools for Optimal Mac Screen Extension
To make the most of your extender, consider using software tools to streamline display management:
- DisplayLink Manager: Ideal for users with USB-C hubs or docks, DisplayLink Manager enables stable multi-display connections.
- SwitchResX: A versatile app for detailed display adjustments, allowing you to change resolutions, refresh rates, and screen orientation on the fly.
- Duet Display: Converts an iPad into a secondary screen for Mac, a portable and functional extension solution.
7. Troubleshooting Common Screen Extender Issues on Mac
Issues may arise, especially when working with multiple screens on a Mac. Here’s a quick troubleshooting guide:
| Problem | Solution |
|---|---|
| Black Screen on Extender | Reconnect cables, check input sources |
| Resolution Mismatch | Adjust in Display Preferences > Scaled |
| No Signal Detected | Verify cables, adapters, and restart the Mac |
| Screen Flickering | Reduce refresh rate or check for loose cables |
| USB-C Connection Issue | Allow USB-C access in macOS Ventura settings |
Additional Tips:
- Reboot Your Mac: Restarting can resolve many connectivity issues.
- Reset Display Preferences: Sometimes, macOS needs a reset to detect new displays correctly. Go to Displays > Detect Displays in System Preferences.
8. Best Practices for Using a Laptop Screen Extender
Maximize your screen extender’s lifespan and efficiency with these best practices:
- Regularly Update Software: Keep macOS and any related display software updated.
- Optimize Screen Brightness: Prolong battery life and reduce eye strain by adjusting brightness levels.
- Choose the Right Refresh Rate: For video editing or gaming, select a higher refresh rate; for general use, 60Hz is sufficient.
- Use a Quality Cooling Pad: Extending your Mac’s screen can increase heat generation, so a cooling pad can help maintain optimal performance.
9. Summary and Recommendations
Investing in the best laptop screen extender for Mac transforms your workflow, enabling efficient multitasking and increased productivity. Choosing the right extender involves considering compatibility, resolution support, and connectivity options. By following the installation and setup guide above, you can seamlessly expand your Mac’s display capabilities, making it easier to manage complex tasks and boost work efficiency.
Final Thought:
Extend your Mac’s screen space with confidence, knowing you have the best tools and setup in place. With the right configuration and troubleshooting tips, you’re equipped to make the most out of your Mac’s multi-display setup.
Related product recommendation
-
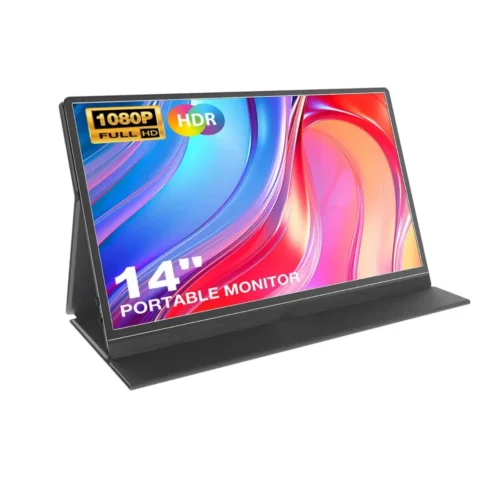 14.0″ Ultra Slim Monitor FHD 1080P External Display with Dual Speakers Second Screen for Laptop PC Phone Xbox PS4/5 Switch – A1 GAMUT Slim
 -
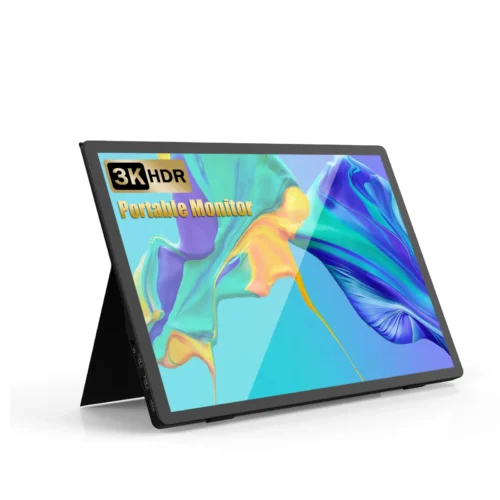 13.5 Inch FHD 3K Portable Displays Screen Slim Lightweight HDR Travel Monitor for external monitors for Laptop Xbox PS5 Switch
 -
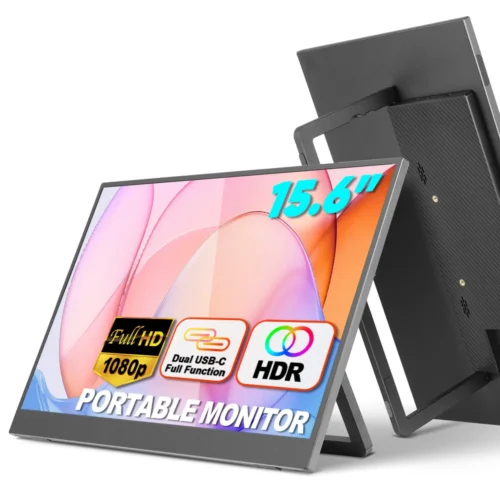 15.6 Inch FHD 1080P Portable Displays USB C HDMI External Display for Laptop Second Monitor