When it comes to using a portable screen for your laptop, there’s nothing more frustrating than discovering dead pixels marring your display. These tiny, seemingly insignificant dots can drastically reduce your viewing experience, especially when you rely on your second screen for laptop use to boost productivity, creativity, or gaming. Luckily, there are ways to diagnose, calibrate, and potentially fix these issues. In this guide, we’ll explore everything you need to know about dead pixels, their causes, and actionable steps to fix or calibrate your portable monitor.
What Are Dead Pixels, and How Do They Differ from Stuck Pixels?
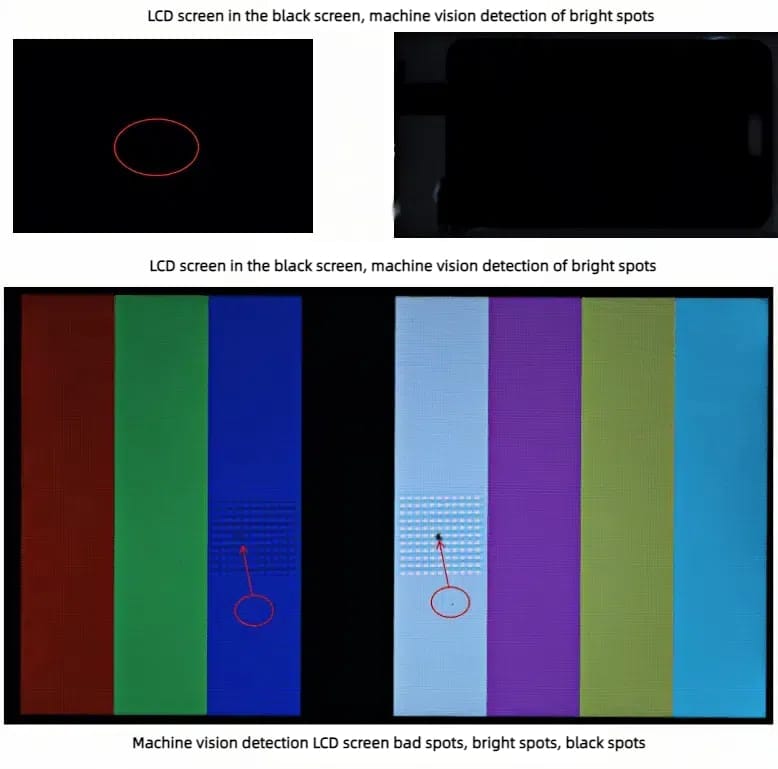
Before diving into calibration methods, it’s essential to understand the problem you’re facing. Pixels on your screen consist of three subpixels: red, green, and blue (RGB). These subpixels combine to produce the colors you see on your portable monitor. A dead pixel occurs when a pixel no longer emits light, making it appear as a tiny black dot on the screen. Dead pixels are usually irreversible, indicating hardware failure.
On the other hand, stuck pixels are caused when one or more subpixels become stuck in a specific state, showing as red, green, blue, or white dots. Unlike dead pixels, stuck pixels can sometimes be fixed with manual or software-based techniques.
Dead vs. Stuck Pixels: Key Differences
- Dead Pixel: Appears black and cannot light up; typically a permanent issue.
- Stuck Pixel: Appears colored (red, green, blue, or white) and may be temporary.
Why Do Dead Pixels Happen on Your Second Screen for Laptop?
Dead pixels can occur for several reasons, ranging from manufacturing defects to prolonged use of the screen. In portable monitors, especially those used as a second screen for laptops, frequent travel, temperature changes, and physical stress may increase the likelihood of pixel damage.
Key causes of dead pixels include:
- Manufacturing defects: Faults in the production process may result in pixels failing over time.
- Physical damage: Rough handling, drops, or pressure on the screen can damage the pixel matrix.
- Burn-in: Leaving a static image on the screen for prolonged periods can “burn” the image into the display, affecting pixel behavior.
- Aging: Over time, portable monitors can naturally wear out, leading to pixel malfunctions.
Identifying Dead or Stuck Pixels on Your Portable Monitor
Before attempting any repairs, you must confirm whether your second screen for laptop has dead or stuck pixels. There are simple methods to identify the type of pixel malfunction:
Step 1: Visual Inspection
Manually inspect the screen by displaying solid colors (black, red, blue, green, and white) on the monitor. You can create a blank document or open a website like DeadPixelTest.org that provides solid colors for testing. If a pixel appears black on all backgrounds, it’s likely a dead pixel. If it shows as a bright color or white, it’s a stuck pixel.
Step 2: Use Dead Pixel Detection Software
There are software tools available to identify dead or stuck pixels. Some popular ones include:
- JScreenFix: A web-based tool that can help fix stuck pixels by flashing different colors on the screen rapidly.
- PixelHealer: This app applies similar techniques, providing a visual method for identifying and potentially fixing stuck pixels.
Both tools are great for checking the status of your second screen for laptop and determining the next steps.
Fixing Stuck Pixels on Your Portable Monitor
Method 1: Manual Pressure Technique
One of the oldest methods for fixing stuck pixels involves applying gentle pressure to the affected area. This method can sometimes reset the subpixels that are stuck.
Here’s how to perform it safely:
- Turn off the monitor: Always start by shutting down your second screen for laptop.
- Use a blunt object: Take a soft, blunt object like a pencil eraser or the edge of a microfiber cloth.
- Apply gentle pressure: Gently press on the stuck pixel area without pressing too hard (this could worsen the damage).
- Turn the screen on while applying pressure: Power the monitor back on while still pressing the area to see if the pixel resets.
Method 2: Pixel-Repairing Software
Several software programs are available that can help “jolt” stuck pixels back to life by flashing different colors rapidly. These programs work by rapidly cycling through colors, attempting to force the pixel back into its normal state.
Steps to use pixel-repairing software:
- Download a pixel-fixing tool: Use tools like PixelHealer or JScreenFix.
- Run the program on the affected area: Focus the software’s pixel repair on the stuck pixel for several minutes.
- Monitor the results: After running the software for 5-10 minutes, check if the stuck pixel has returned to normal.
These tools are often free and can be useful for repairing stuck pixels on your second screen for laptop.
Method 3: Heat and Pressure
Another method to repair stuck pixels is a combination of heat and pressure. You can use a warm compress (not too hot) on the area of the stuck pixel and apply gentle pressure, as mentioned earlier.
Dealing with Dead Pixels
Unfortunately, dead pixels are more difficult to fix because they indicate a permanent hardware failure. However, there are some options to consider if dead pixels are affecting your second screen for laptop usage:
Method 1: Ignore the Pixel
If the dead pixel is located in an area that doesn’t distract from your work, you may choose to ignore it. One dead pixel won’t drastically affect the screen’s performance for most users.
Method 2: Contact the Manufacturer
If the portable monitor is still under warranty, you can contact the manufacturer for a replacement. Dead pixels often fall under manufacturer warranties, especially if there are multiple dead pixels.
Method 3: Use a Pixel-Fixing Tool
While software programs are more effective for stuck pixels, some tools claim to improve dead pixels through rapid color shifts. Although the success rate is lower, it’s still worth a try before opting for a replacement.
Color Calibration After Fixing Pixels
Even if you successfully fix stuck pixels, your portable screen may not display colors accurately, especially if you applied pressure or heat to fix the issue. To ensure your second screen for laptop displays accurate colors, it’s crucial to calibrate the screen.
Manual Calibration
You can manually adjust the color settings through your laptop’s operating system.
- Windows users: Go to Settings > System > Display > Color calibration and follow the on-screen instructions.
- Mac users: Open System Preferences > Displays > Color and choose “Calibrate” to adjust the display settings.
Using Calibration Tools
For professional color accuracy, consider using a hardware colorimeter tool like SpyderX or X-Rite’s i1Display. These tools measure your monitor’s color accuracy and adjust it automatically for the best possible results.
Preventing Future Pixel Issues
Pixel issues can be frustrating, but some preventive steps can minimize the chance of developing more dead or stuck pixels on your second screen for laptop.
Step 1: Avoid Extended Static Images
Prolonged display of static images can cause burn-in or pixel failure. Use a screensaver or turn off the monitor when not in use to prevent this issue.
Step 2: Handle the Monitor Carefully
Portable monitors are often used in various environments, making them more prone to physical damage. Be cautious while transporting or adjusting your second screen for laptop to avoid putting pressure on the screen.
Step 3: Regular Maintenance and Cleaning
Dust and debris can sometimes affect pixel functionality. Regularly clean your portable monitor with a microfiber cloth, avoiding harsh chemicals that could damage the screen.
Should You Replace a Monitor with Dead Pixels?
If dead pixels persist and significantly affect your productivity, you may wonder if it’s time to replace your portable monitor. Here’s a guide to help you decide:
- Number of dead pixels: A single dead pixel may be tolerable, but multiple dead pixels can disrupt your second screen for laptop experience.
- Location of dead pixels: Dead pixels near the center of the screen are more disruptive than those on the edges.
- Warranty status: If your portable screen is still under warranty, contact the manufacturer for repair or replacement options.
Conclusion: The Importance of Second Screens for Laptop Productivity
A portable monitor is a crucial tool for boosting productivity, creativity, and multitasking. When dead or stuck pixels appear, it can disrupt your workflow. However, by using the methods described above, you can often fix or calibrate your second screen for laptop and continue to enjoy a seamless experience.
With careful maintenance, regular checks, and proactive steps, you can ensure that your portable monitor serves you well for years to come. Whether you’re editing photos, working on spreadsheets, or gaming, a well-functioning second screen can elevate your laptop experience to the next level.
Always remember, if DIY methods fail, contacting the manufacturer or considering a replacement is the best way to avoid further frustration with dead pixels.
Hot Sale Area
-
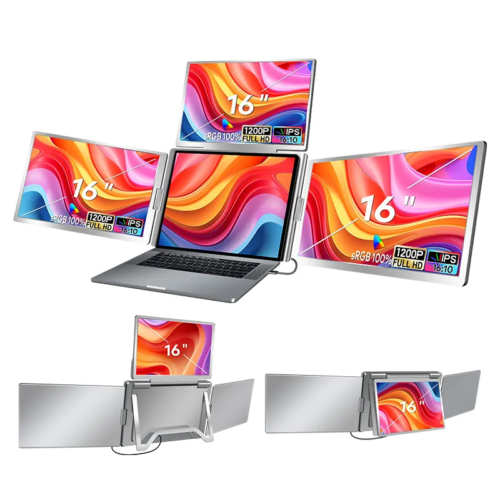 ONext 100% SRGB 16 Inch Quad Monitor 1 Cable for Trifold Laptop Monitors, Vibrant 3-Display for Windows & MacOS
 -
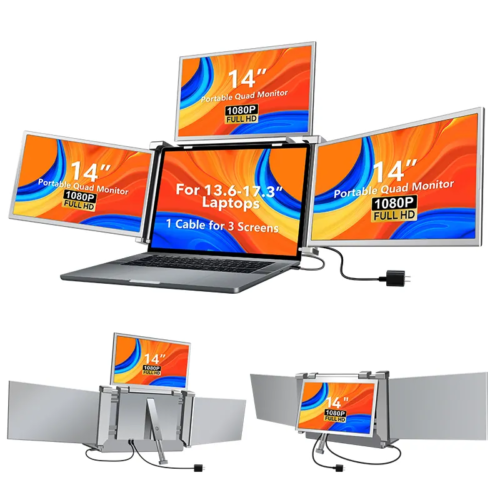 ONext 14″ Quad Monitor Laptop Screen Extender – FHD 1080P, 1 Cable for 3 Screens, Portable IPS for 13.6″-17.3″ Laptops (Win/Mac M1-M3)
 -
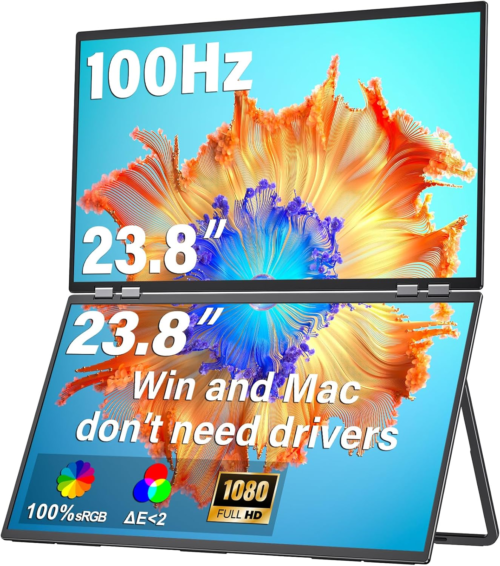 ONext 23.8″ FHD100Hz 100% sRGB Dual Screen Laptop Extra Monitor – 315° Adjustable for Work & Gaming
-
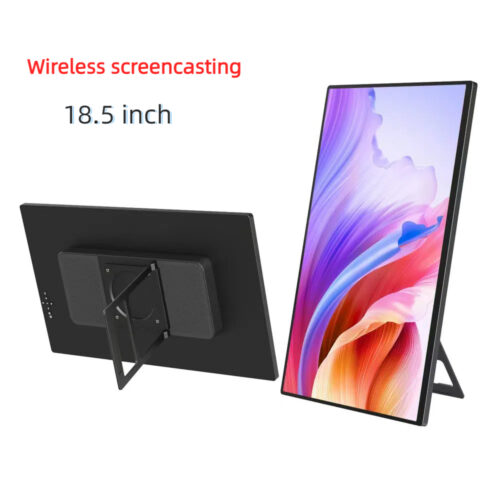 ONext 18.5 inch Portable Laptop Monitor ,Wireless screencasting Laptop Monitors with Kickstand
 -
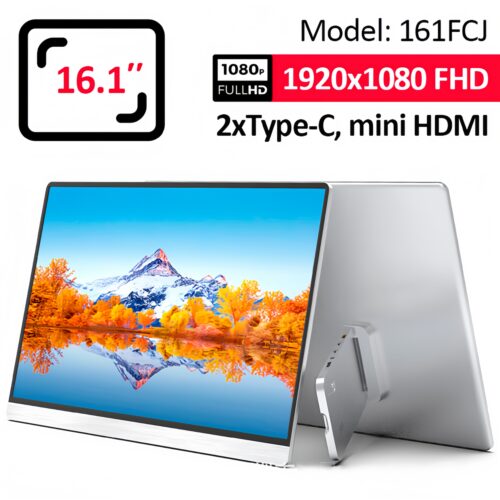 Portable Laptop Screen 16.1 inch Laptop Monitors Full HD, IPS, USB Type-C, Flicker Free, Blue Light Filter Silver With Foldable Stand
 -
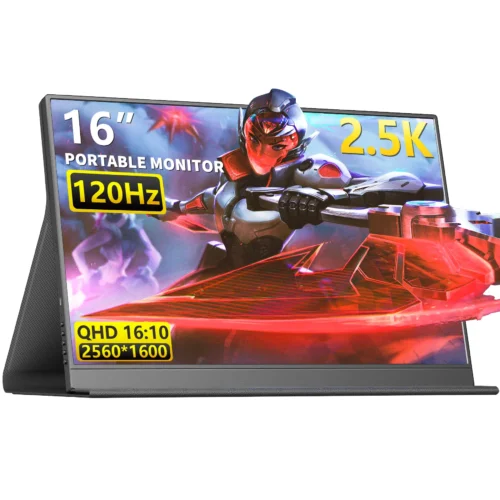 16 Inch Portable Monitor 2560*1600 FullHD 120Hz Gaming Computer Monitor Wide 16:9 Travel Monitors for Laptop Mac Phone Tablet PS4 Switch Xbox Built In Speakers,HDMI/Type-C Monitor