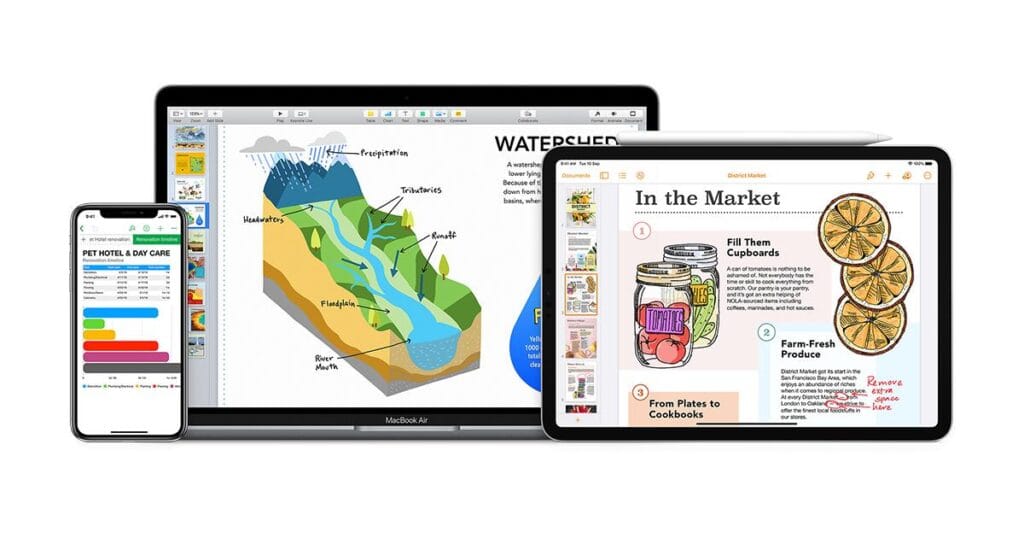
In today’s fast-paced digital world, the ability to capture and share information quickly is crucial for productivity. For Mac users, especially those who work with the iWork suite (Pages, Numbers, and Keynote), mastering screenshot techniques and utilizing a laptop extra display can significantly enhance efficiency and collaboration. This comprehensive guide will provide you with detailed tips on how to take effective screenshots on your Mac and optimize your workflow using a laptop extra display.
Understanding the Importance of Screenshots in Mac
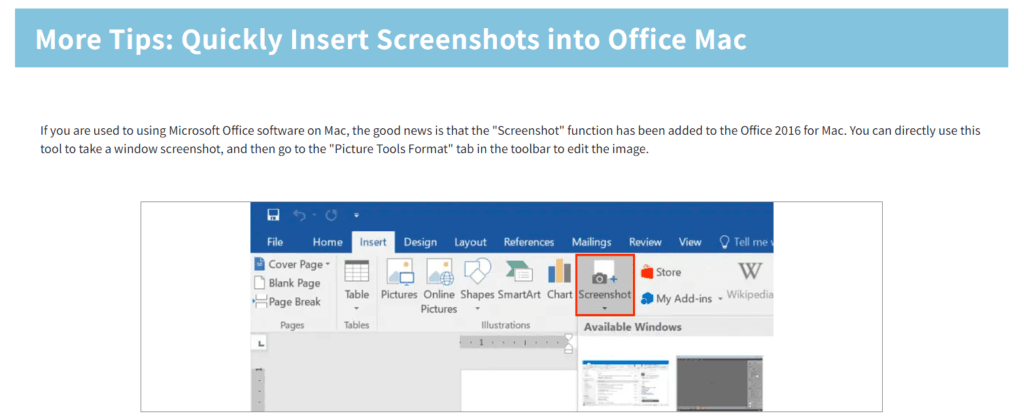
Screenshots are an essential tool for Mac users, especially when working with various applications in the iWork suite. Whether you’re preparing a presentation in Keynote, analyzing data in Numbers, or drafting a document in Pages, being able to quickly capture and annotate information can streamline your workflow and enhance your productivity.
Using a laptop extra display can further elevate this experience, allowing you to multitask effectively. This blog will explore various screenshot techniques, editing options, and ways to leverage a second screen to improve your iWork productivity.
Taking Screenshots on Your Mac
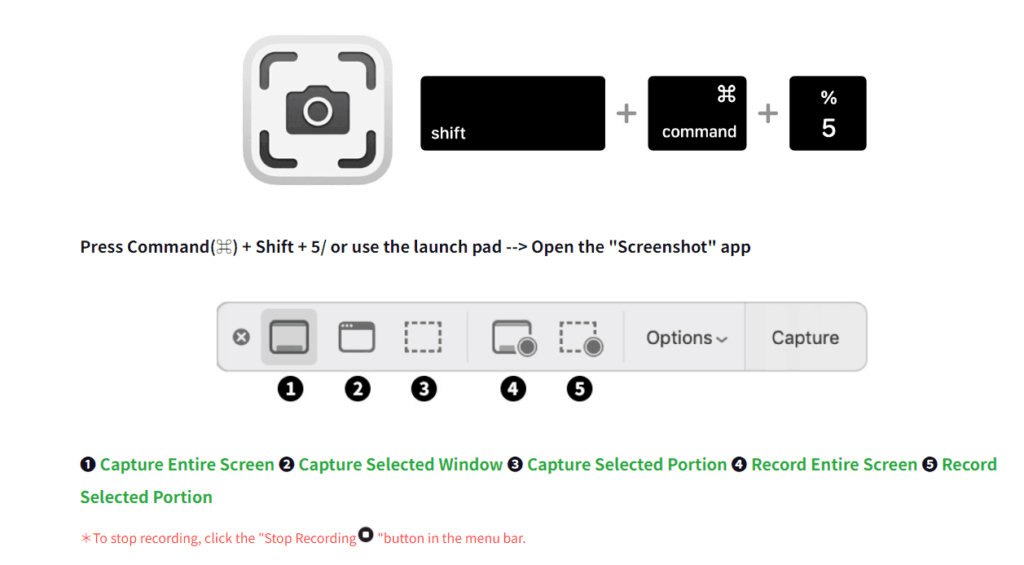
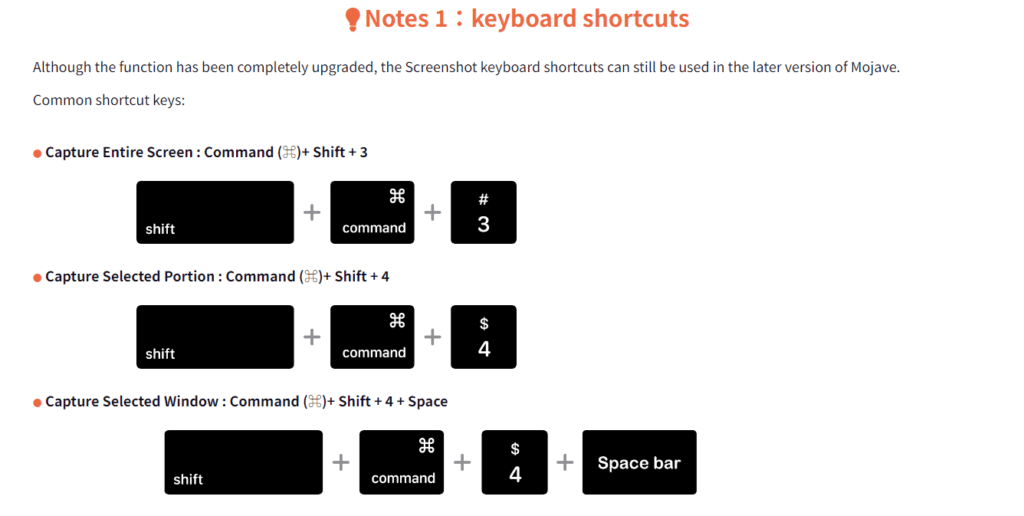
Macs offer several keyboard shortcuts for capturing screenshots. These shortcuts allow users to capture the entire screen, a selected portion, or specific windows with ease. Here are the key combinations:
1. Capturing the Entire Screen
To capture everything displayed on your screen, use the shortcut:
- Command (⌘) + Shift + 3
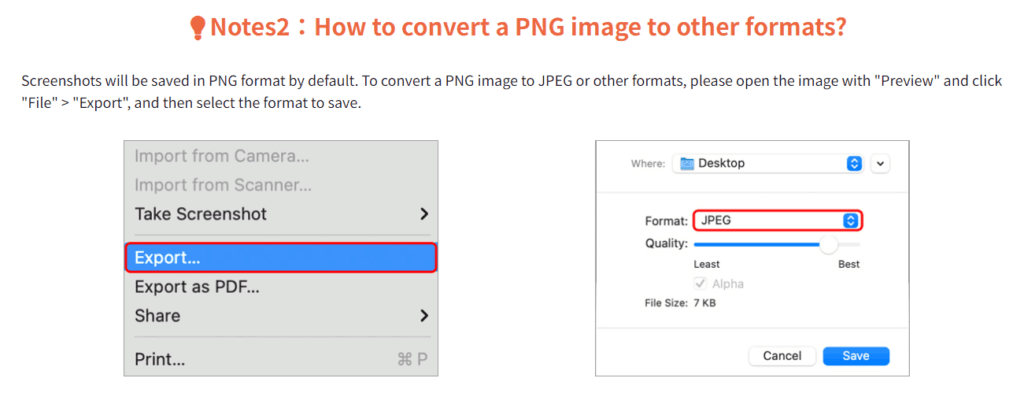
Once you press this combination, the screenshot will automatically save to your desktop.
2. Capturing a Selected Portion
If you only need a specific area of the screen, you can capture a selected portion by using:
- Command (⌘) + Shift + 4
This shortcut will change your cursor into a crosshair, allowing you to click and drag to select the area you wish to capture. Release the mouse button to take the screenshot, which will also save to your desktop.
3. Capturing a Specific Window
For users who want to capture a specific window, the shortcut is:
- Command (⌘) + Shift + 4, followed by the Spacebar
After pressing this combination, your cursor will change to a camera icon. Hover over the window you want to capture, and click to take a screenshot of just that window.
Editing Screenshots on Your Mac
After capturing a screenshot, Mac provides several options for editing and annotating your images.
1. Using the Thumbnail Feature
Once you take a screenshot, a thumbnail appears in the corner of your screen. Click on the thumbnail to open a simple editing interface where you can:
- Crop and resize the image.
- Add text, arrows, or shapes for annotation.
- Highlight specific areas for clarity.
This feature is particularly useful when you want to draw attention to important information, making your screenshots more informative.
2. Editing with Preview App
If you miss the thumbnail or prefer to edit your screenshots later, you can use the Preview app:
- Find your screenshot on the desktop.
- Right-click and select Open With > Preview.
- Use the tools in Preview to edit your image as needed.
Using a Laptop Extra Display for Enhanced Productivity
Using a laptop extra display can dramatically improve your productivity, especially when working with the iWork suite. Here are some techniques to maximize efficiency with a second screen:
1. Dual-Screen Workflows
A laptop extra display allows you to expand your workspace, making it easier to manage multiple tasks simultaneously. For instance, you can:
- Edit Documents: Keep your Pages document open on one screen while researching materials or gathering information on another. This setup minimizes the need to switch between tabs and applications, enhancing focus.
- Multitask with Numbers: When working with data analysis in Numbers, you can display your spreadsheet on one screen while viewing related charts or graphs on the extra display. This allows for easier comparisons and more effective decision-making.
- Create Presentations with Keynote: Utilize your extra display to view your Keynote presentation while editing slides on your primary screen. You can also use the extra screen to show presenter notes or view upcoming slides without distracting the audience.
2. Screenshot Workflow with Dual Displays
When using a laptop extra display, capturing screenshots becomes more strategic. Here’s how to effectively manage screenshots in a dual-screen setup:
- Organize Your Screens: Arrange your displays so that your main screen is dedicated to the task at hand (e.g., creating a presentation in Keynote) while your secondary display is for reference materials, websites, or data.
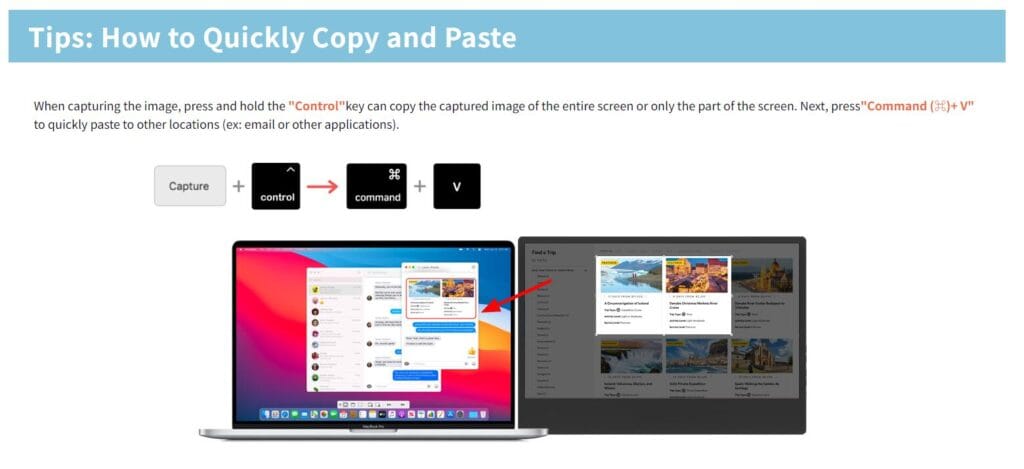
- Capture and Drag: After taking a screenshot on one screen, simply drag it to the other screen for further editing or incorporation into your iWork documents. This fluidity enhances your ability to compile information quickly.
- Real-Time Collaboration: If you’re working with a team, use the extra display to share your screen via applications like Zoom or Microsoft Teams while you take screenshots for documentation. This setup allows for real-time feedback and discussion without interrupting your workflow.
Leveraging iWork Suite with Screenshots and Dual Displays
The iWork suite is designed to integrate seamlessly with macOS features, allowing for efficient use of screenshots and multi-display setups. Here’s how to utilize iWork effectively:
1. Pages: Document Creation and Screenshot Integration
When creating documents in Pages, consider the following tips:
- Drag and Drop: Use your extra display to keep reference images or documents open, making it easy to drag and drop screenshots into your Pages document without leaving your primary screen.
- Screenshot Annotation: After capturing a screenshot, you can edit it on the fly using the thumbnail feature and then insert it directly into your Pages document. This keeps your workflow fluid and efficient.
2. Numbers: Data Analysis with Visuals
For users working with Numbers, a laptop extra display can greatly enhance your ability to analyze data:
- Side-by-Side Comparison: Use one screen to display raw data while using the other for charts and graphs. This visual representation can help you make more informed decisions based on the analysis.
- Capture and Insert Graphs: When you create charts in Numbers, take screenshots of your results and insert them into presentations or reports in Keynote or Pages. This enhances clarity and supports your findings.
3. Keynote: Presentation Mastery
In Keynote, the benefits of using a laptop extra display are substantial:
- Preview and Edit Simultaneously: Keep your presentation open on one screen while working on your notes, images, or supplementary information on the second screen.
- Presenter Display: Use the extra screen as your presenter display, allowing you to see your notes and upcoming slides without showing them to the audience. This setup creates a polished and professional presentation experience.
iWork Cloud Services and Real-Time Collaboration
The iWork suite supports real-time collaboration through iCloud, enabling you to work on documents across multiple devices. Here’s how to maximize this feature while using a laptop extra display:
1. Accessing iWork via iCloud
With iCloud, you can access your iWork documents from any device with internet access, allowing for seamless transitions between your laptop extra display and other devices:
- Edit Anywhere: Whether you’re at home or on the go, your documents are accessible, ensuring you can always stay productive.
- No Application Needed: You can open and edit documents directly in a web browser, eliminating the need for specific app installations on multiple devices.
2. Collaborative Editing
iWork allows multiple users to collaborate in real-time on documents:
- Share Links: Use iCloud to share documents via links, making it easy for team members to access and edit simultaneously. This is especially useful when working with screenshots and visuals that need immediate feedback.
- Instant Updates: Changes made by any collaborator are instantly reflected, allowing for a dynamic editing environment that improves teamwork and communication.
Advanced Techniques for Managing Dual Displays
To get the most out of your laptop extra display, consider these advanced management techniques:
1. Display Arrangement Settings
When setting up your displays, you can customize how they are arranged:
- System Preferences: Go to System Preferences > Displays to adjust the arrangement of your screens. This allows you to define which screen is your primary display and how they relate to one another.
- Extended Desktop: Make sure to select the “Extended Desktop” option to maximize the usable space across both screens. This option allows you to drag windows and applications seamlessly between displays.
2. Third-Party Software for Enhanced Control
Consider using third-party software to manage your laptop extra display more effectively:
- DisplayFusion: This software offers extensive options for window management, multi-monitor setups, and customizable hotkeys for seamless switching between displays.
- Magnet: A window management tool that helps snap windows into organized grids on your displays, allowing for more efficient multitasking.
Connecting Additional Displays to Your MacBook
If your MacBook lacks sufficient ports to connect additional displays, there are solutions:
1. Use Adapters for External Monitors
- USB-C to HDMI or DisplayPort Adapters: These adapters can connect your MacBook to various external monitors, making it easy to set up a laptop extra display.
- Docking Stations: For users who need to connect multiple peripherals and displays, a docking station can provide additional ports and connectivity options.
2. USB-C Monitors
Consider investing in USB-C monitors that can connect directly to your MacBook without additional adapters, simplifying your setup and reducing cable clutter.
Conclusion: Mastering Screenshots and iWork with Laptop Extra Display
Mastering screenshots and effectively utilizing a laptop extra display can greatly enhance your productivity when using your Mac and the iWork suite. With the right techniques, you can streamline your workflows, improve collaboration, and create visually appealing documents and presentations. By leveraging the power of your Mac and a laptop extra display, you’ll find new ways to work efficiently and effectively, allowing you to focus on what matters most—getting the job done.
With these tips and techniques at your disposal, you’re well-equipped to harness the full potential of screenshots and dual displays in your daily tasks. Whether you’re a student, professional, or creative, embracing these tools will empower you to work smarter and achieve your goals with ease.
Featured product recommendation
-
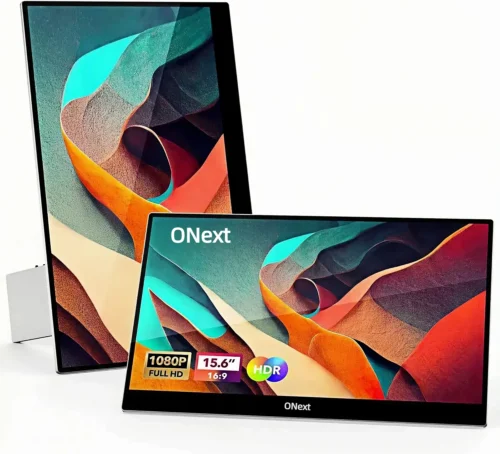 ONext Portable Monitor for Laptop, Slim 15.6 Inch External Monitor with Adjustable kickStand
 -
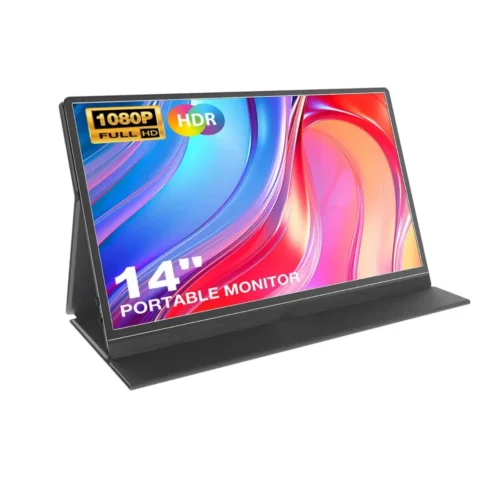 14.0″ Ultra Slim Monitor FHD 1080P External Display with Dual Speakers Second Screen for Laptop PC Phone Xbox PS4/5 Switch – A1 GAMUT Slim
 -
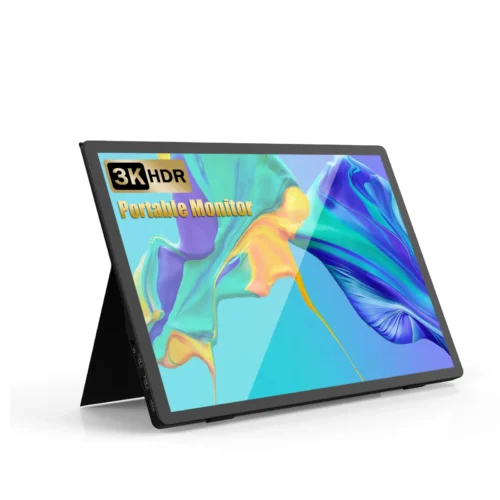 13.5 Inch FHD 3K Portable Displays Screen Slim Lightweight HDR Travel Monitor for external monitors for Laptop Xbox PS5 Switch
 -
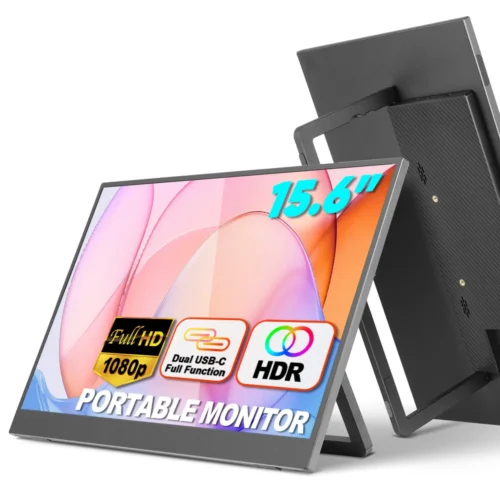 15.6 Inch FHD 1080P Portable Displays USB C HDMI External Display for Laptop Second Monitor
 -
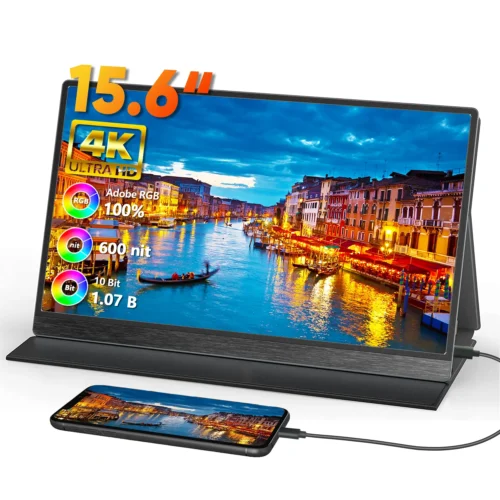 15.6″ 4K External Display Travel Monitors Unleash Mobile Productivity With HDR And USB-C HDMI Connectivity
 -
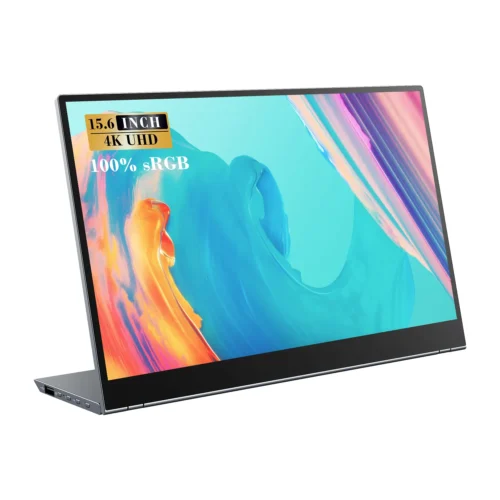 15.6 Inch FHD 4K Portable Displays Screen Ultra-Slim IPS Display Use For Multiple Screen Laptop