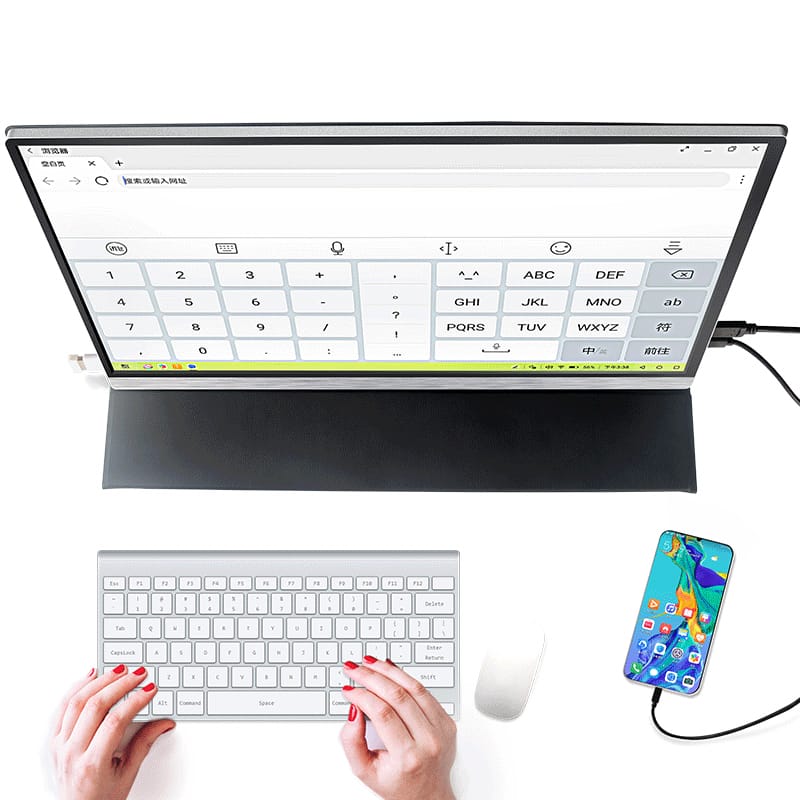
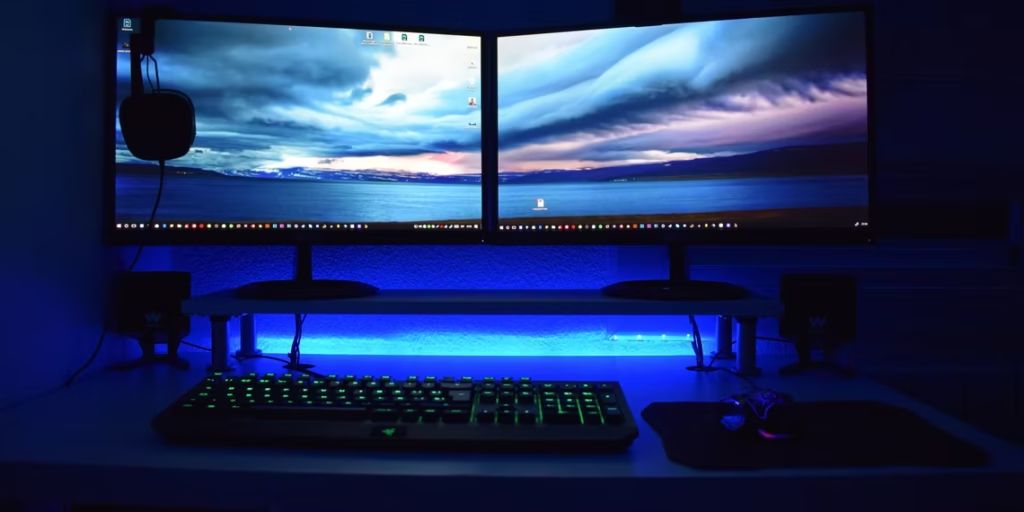
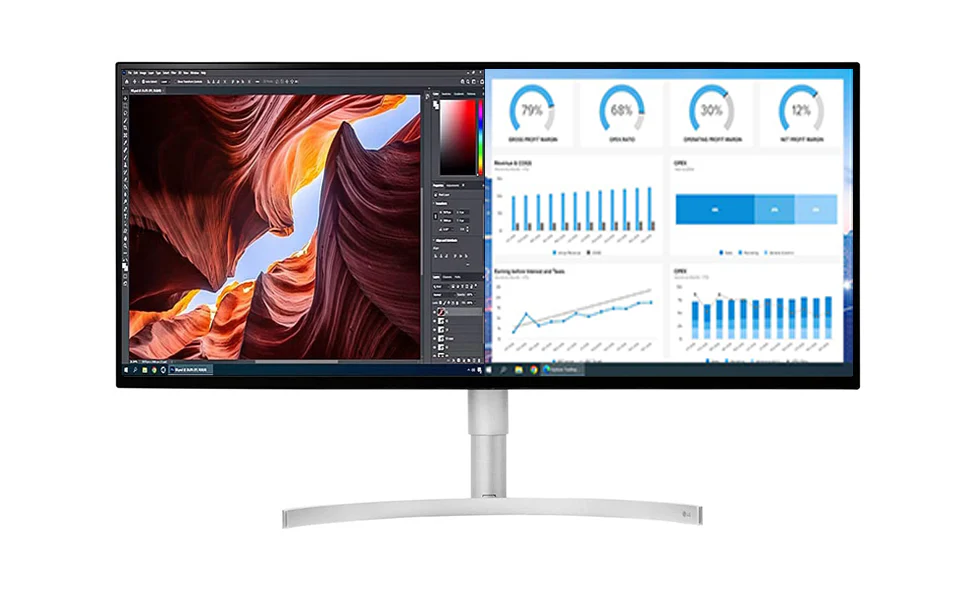
As technology continues to advance, the MacBook Air M3 is paving the way for improved computing experiences, especially with its M3 chip and enhanced display capabilities. Whether you’re a creative professional, a multitasker, or someone who just wants a more efficient workspace, pairing your MacBook Air M3 with a second monitor can transform your productivity. In this article, we will explore the benefits, key features, and considerations for selecting the ideal second monitor for your MacBook Air M3.
Key Features of the MacBook Air M3 Display
The MacBook Air M3 boasts an impressive display with features that cater to both casual users and professionals alike. Its Retina display supports a maximum resolution of 6K at 60Hz or 4K at 144Hz, offering users a sharp, clear, and immersive visual experience. Whether you’re editing high-resolution images, working on intricate design projects, or simply watching videos, this high level of detail is ideal for ensuring a smooth and visually accurate performance.
One standout feature of the MacBook Air M3 is its P3 wide color gamut and support for over one billion colors. This provides deeper, more vibrant colors, making it perfect for creative professionals like photographers and video editors who need precise color accuracy. Pairing it with a second monitor that matches or exceeds these display capabilities will help you fully exploit the M3’s powerful graphics.
While the MacBook Air M3 display is already impressive on its own, adding a second monitor enhances its usability by allowing users to extend their workflow across multiple screens, making multitasking more seamless than ever.
The Benefits of External Monitors for Enhanced Productivity
Connecting a second monitor to your MacBook Air M3 can lead to significant improvements in your work efficiency. With an additional screen, you can manage multiple applications and tasks simultaneously, without the need for constant window switching. This increased screen real estate helps reduce cognitive load, allowing you to focus more on the tasks at hand.
For instance, you could have a spreadsheet or email client open on one screen while working on a presentation or design project on another. This setup not only helps with multitasking but also keeps you organized. Studies have shown that users who use multiple screens can improve productivity by up to 42%, as the extra display allows for a more streamlined workflow.
Moreover, when combined with the MacBook Air M3’s high resolution and color accuracy, an external monitor can provide more space to work, allowing you to compare documents, view reference materials, and maintain communication without compromising the quality of your tasks. Professionals, such as software developers, designers, video editors, and traders, will find the ability to manage complex projects with more ease when using a second monitor.
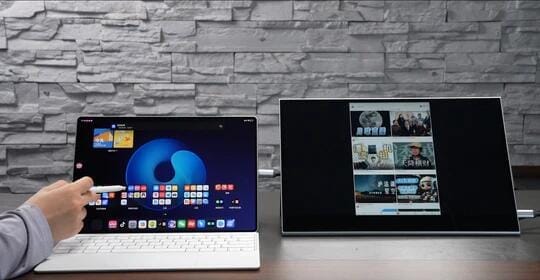
Choosing the Right External Monitor for Your MacBook Air M3
When selecting a second monitor for your MacBook Air M3, there are several key factors to consider:
1. Resolution and Refresh Rate
The MacBook Air M3 supports 6K resolution at 60Hz and 4K at 144Hz, which means your external monitor should be capable of matching or at least complementing these specifications. Opting for a monitor with a high resolution ensures that you get sharp visuals and the best performance out of your setup. If you’re into gaming or video editing, you’ll benefit from a monitor with a higher refresh rate, like 144Hz, as it provides smoother motion and less screen tearing.
2. Color Accuracy
If you’re a professional who requires precise color grading, such as a graphic designer or video editor, choose a monitor that offers high color accuracy, preferably with P3 color gamut support, just like the MacBook Air M3’s display. Monitors with HDR capabilities are also ideal for users working with media content, as HDR offers improved contrast and brightness for more dynamic visuals.
3. Connectivity
The MacBook Air M3 features Thunderbolt/USB 4 ports, which support video output. However, not all external monitors support Thunderbolt, so it’s important to ensure that your second monitor has the appropriate ports or comes with adapters for compatibility. For example, if your monitor only has HDMI, you’ll need a USB-C to HDMI adapter to connect it to your MacBook Air M3.
4. Size and Panel Type
Monitor size plays a significant role in your decision. While 24-inch or 27-inch monitors are common, you might prefer something larger like a 32-inch 4K monitor for more extensive workspaces. Panel types such as IPS (In-Plane Switching) and OLED are great for professionals, as they offer excellent color reproduction and viewing angles. OLED monitors, in particular, provide deep blacks and high contrast ratios, making them a good choice for high-end creative work.
5. Adjustability and Ergonomics
An often-overlooked feature is monitor adjustability. Look for a second monitor that offers height adjustment, tilt, swivel, and even pivot functionality. This ensures that your monitor is ergonomically positioned for comfortable long-term use, which can help you avoid strain on your neck and eyes during prolonged work sessions.
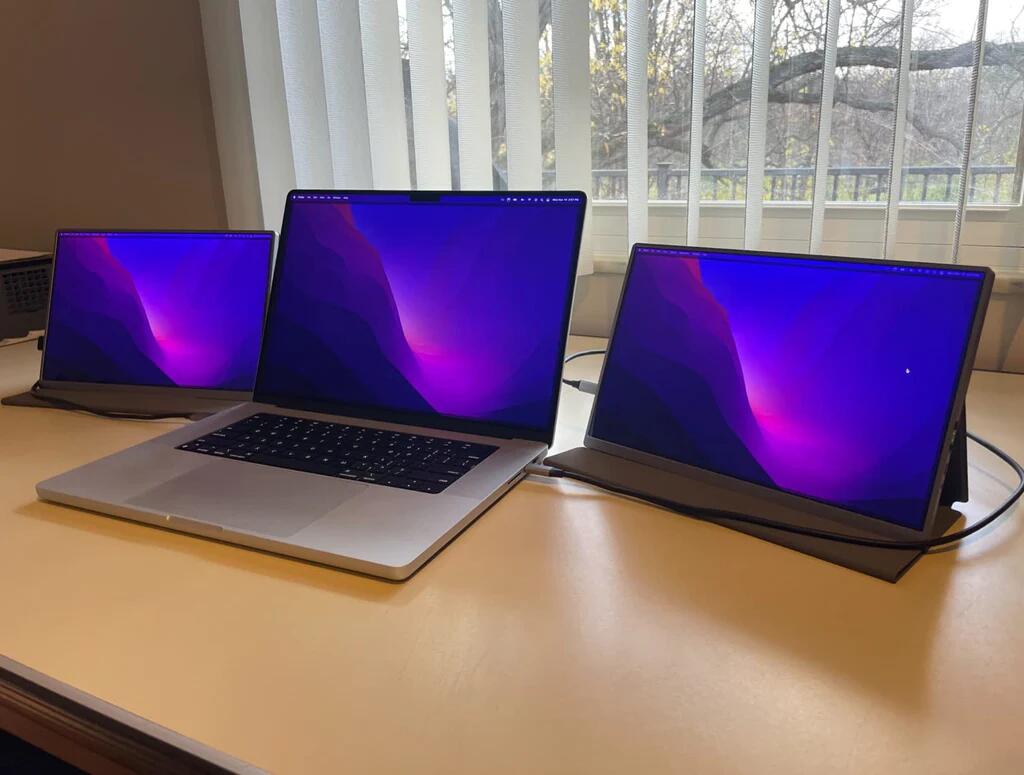
Connectivity Options: Ensuring Compatibility with MacBook Air M3
One of the strongest features of the MacBook Air M3 is its Thunderbolt/USB 4 ports, which allow for a wide range of connection possibilities. These ports support video output, making it simple to connect to an external display. However, ensuring compatibility between your MacBook and the second monitor is crucial for a seamless experience.
If your monitor doesn’t support USB-C or Thunderbolt, you may need to use a USB-C Digital AV Multiport Adapter to connect via HDMI. This is useful when connecting to 4K televisions or monitors that don’t have USB-C as an input option. Additionally, you can invest in a Thunderbolt dock or USB-C hub for more flexible port options, especially if you need to connect multiple devices simultaneously.
When choosing a second monitor, ensure it has the necessary ports and comes with the right cables, or you’ll need adapters to achieve the best results.
Setting Up and Configuring External Monitors with MacBook Air M3
After connecting your second monitor to the MacBook Air M3, a few settings adjustments will ensure everything runs smoothly. Head to System Settings on your MacBook Air M3 to configure the display:
- Display Arrangement: Arrange the two displays according to your workspace layout. You can position them side by side, one on top of the other, or at any angle that suits your workflow.
- Primary Display: Choose which screen to set as the primary display. This will be the screen where your menu bar and dock appear.
- Resolution and Refresh Rate: Select the optimal resolution and refresh rate for both your MacBook Air M3 and your second monitor to ensure the best visual performance.
Users can also choose between extended mode, which stretches the desktop across both screens, and mirror mode, which displays the same content on both screens.
Maximizing Productivity with Multiple External Monitors
One of the greatest advantages of the MacBook Air M3 is its ability to support up to two external monitors when the laptop lid is closed. This means that you can extend your desktop across multiple screens, giving you more workspace to organize and manage multiple applications at once.
For example, software developers often use one monitor for writing code, another for testing, and a third for documentation or project management tools. Similarly, video editors may have their timeline and preview on one screen while keeping tools and assets open on another. This kind of setup allows for smoother workflows and better productivity.
Conclusion: Finding the Right Second Monitor for Your MacBook Air M3
Choosing the best second monitor for your MacBook Air M3 depends on your needs and how you intend to use it. Whether you’re a professional looking for high color accuracy, a gamer in need of fast refresh rates, or a multitasker needing more screen space, there are plenty of excellent options available. By paying close attention to resolution, connectivity, and monitor adjustability, you can find a monitor that will significantly enhance your workflow and unlock the full potential of your MacBook Air M3.
Investing in the right second monitor not only boosts productivity but also ensures you get the most out of the powerful display features the MacBook Air M3 has to offer. Whether you’re tackling creative projects or improving your daily efficiency, a well-chosen second monitor is an essential tool for maximizing your MacBook experience.
Hot product recommendation
-
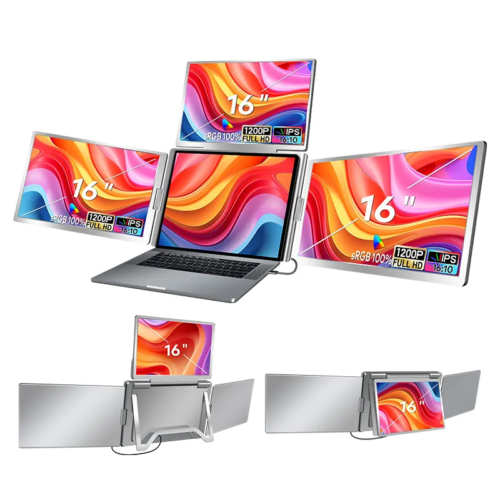 ONext 100% SRGB 16 Inch Quad Monitor 1 Cable for Trifold Laptop Monitors, Vibrant 3-Display for Windows & MacOS
 -
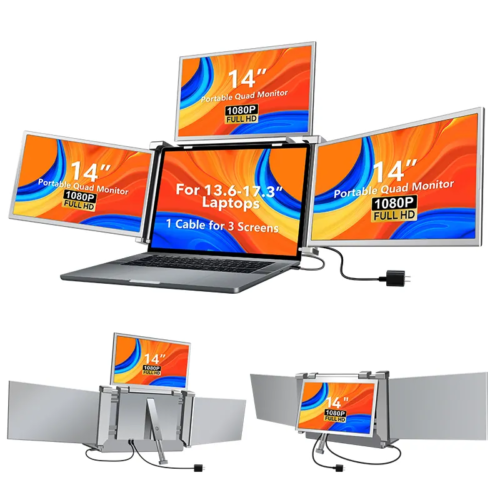 ONext 14″ Quad Monitor Laptop Screen Extender – FHD 1080P, 1 Cable for 3 Screens, Portable IPS for 13.6″-17.3″ Laptops (Win/Mac M1-M3)
 -
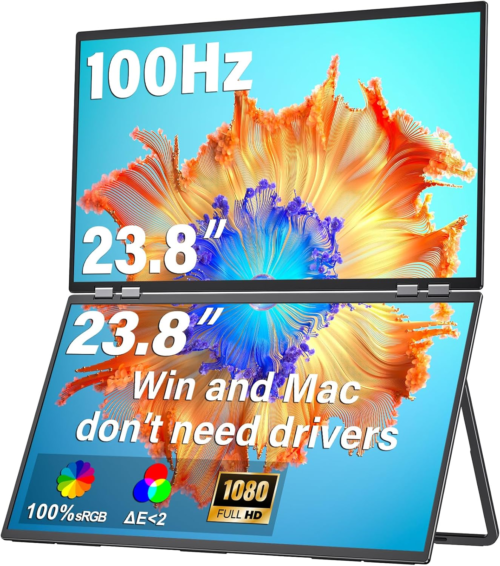 ONext 23.8″ FHD100Hz 100% sRGB Dual Screen Laptop Extra Monitor – 315° Adjustable for Work & Gaming
 -
 ONext 16″ Laptop Screen Extender Foldable Dual Stacked Portable Monitor with Built-in Hub, Magnetic Design, Single Cable for 1080P Triple Monitor Setup
 -
 ONext 18.5″ Laptop Dual Screen Monitor 1080P 100Hz, Foldable Double Screen Laptop Display for Win/Mac
 -
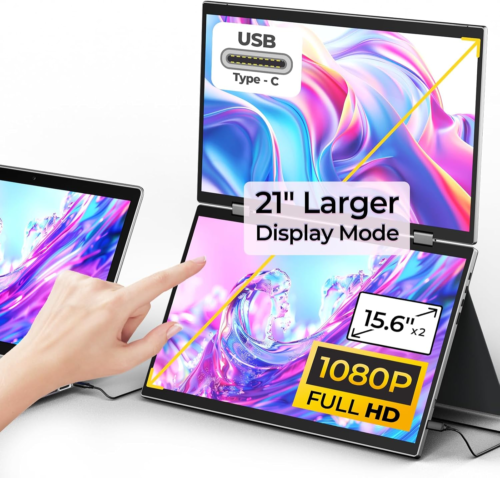 ONext 15.6″ Dual Screen 1080P FHD Stacked Folding Triple Monitor HDMI USB-C Portable Dual Monitor for Laptop Windows Mac (No Driver Needed)
