The convenience of waking your computer with just a tap on your touchscreen is one of the simplest yet most effective ways to improve your productivity, especially in a dual-monitor setup. This feature, known as Wake-on-Touch, is a valuable addition in Windows 11. It allows users to quickly get back to work without needing to press buttons or move a mouse, making it especially useful when using a laptop extra monitor. In this guide, we will take a detailed look at how to enable and optimize Wake-on-Touch, including confirming wakeable devices and editing the system registry for enhanced functionality.
Additionally, we’ll highlight how ONext’s cutting-edge portable monitors are the perfect laptop extra monitor option for users looking to maximize productivity.

Why Use a Laptop as an Extra Monitor?
First, let’s understand why using a laptop extra monitor is a smart choice:
- Enhanced Productivity: Extending your desktop across multiple screens increases your screen real estate. This is particularly useful for professionals working on complex tasks, such as video editing, programming, or graphic design.
- Better Organization: You can keep your primary task on one monitor while placing reference material or communication apps on the laptop extra monitor, minimizing the need to switch between windows.
- Portable Solutions: Laptops are easy to move around, and using them as extra monitors alongside high-quality portable displays, such as ONext monitors, enhances portability while maintaining a professional setup wherever you are.
With this in mind, let’s get into the technical details on how to set up your laptop as an extra monitor in Windows 11.
Step-by-Step Guide to Setting Up a Laptop as an Extra Monitor in Windows 11
If you have a laptop that you’d like to use as an extra monitor, Windows 11 provides multiple easy-to-use tools to achieve this setup. Here’s how you can get started:
Step 1: Connect the Laptop to the Extra Monitor
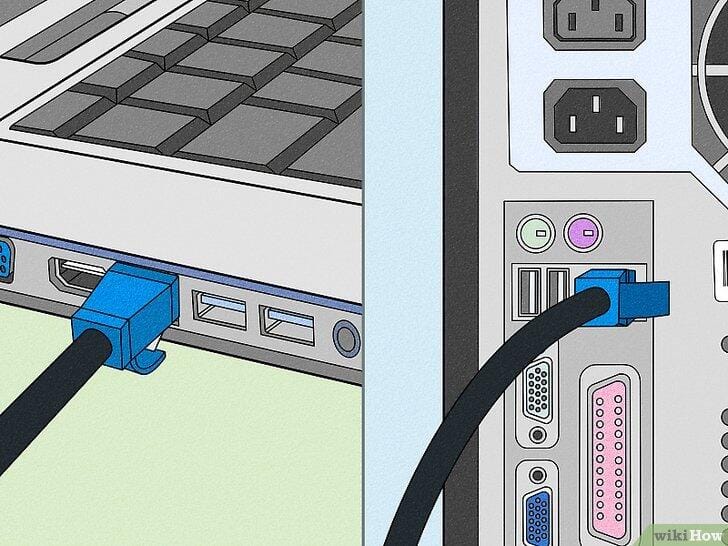
First, connect your laptop extra monitor to your desktop or another laptop. Depending on your monitor, this can be done through an HDMI cable, USB-C, or other compatible ports. If you’re using an ONext portable monitor, the process is even more streamlined thanks to its wide range of connectivity options.
- Connect your monitor to the laptop using the proper cable (HDMI, USB-C, etc.).
- Power on both devices.
Step 2: Configure Display Settings
Now that you’ve connected your laptop extra monitor, it’s time to configure the display settings.
- Press Windows + I to open the Settings menu.
- Select System, then click on Display.
- Both your laptop and the extra monitor should appear on the display layout.
- If Windows doesn’t automatically detect the extra monitor, click Detect to locate it manually.
Step 3: Extend the Displays
By extending your display, you’ll be able to use both screens independently, allowing you to drag windows from one display to another. This is especially useful for multitasking and managing large amounts of data.
- Under the Multiple displays section, select Extend these displays from the dropdown menu.
- Arrange the monitors by dragging the display icons to match their physical arrangement.
- To make the extra monitor your main display, click on its icon and check the Make this my main display box.
Step 4: Adjust Resolution and Orientation
Depending on your preferences, you can tweak the display settings further:
- Set the resolution for each monitor. ONext monitors, for instance, support high-resolution displays, ensuring excellent image quality.
- Adjust the screen orientation (landscape or portrait) for each monitor.
- Once you’re satisfied with your settings, click Apply to save the changes.
Your laptop extra monitor is now set up! Whether you’re using your laptop alongside a portable monitor or a standard one, this setup will make multitasking smoother and more efficient.
Wake-on-Touch: A Smart Feature to Enhance Your Laptop Extra Monitor Experience
Now that your laptop extra monitor is set up, let’s talk about a key feature that can make your workflow even more efficient: Wake-on-Touch. This feature allows you to wake your laptop or extra monitor simply by tapping the screen, saving you the hassle of pressing buttons or moving the mouse.
Why Enable Wake-on-Touch?
When using a laptop extra monitor, Wake-on-Touch can greatly enhance your user experience. Here’s why:
- Quick and Easy Access: Instantly wake your monitor from sleep mode with a simple tap, minimizing downtime and increasing productivity.
- Convenience: Especially useful in a multi-monitor setup, where waking both screens with one action keeps your workflow uninterrupted.
- Perfect for Portable Monitors: Portable touch monitors, such as those from ONext, are designed for optimal portability and flexibility, and Wake-on-Touch maximizes their convenience on the go.
Step-by-Step Guide to Enabling Wake-on-Touch in Windows 11
Step 1: Confirm the Wakeable Device
The first step to enabling Wake-on-Touch is to confirm that your touchscreen device can support waking the system from sleep mode.
Access Device Manager
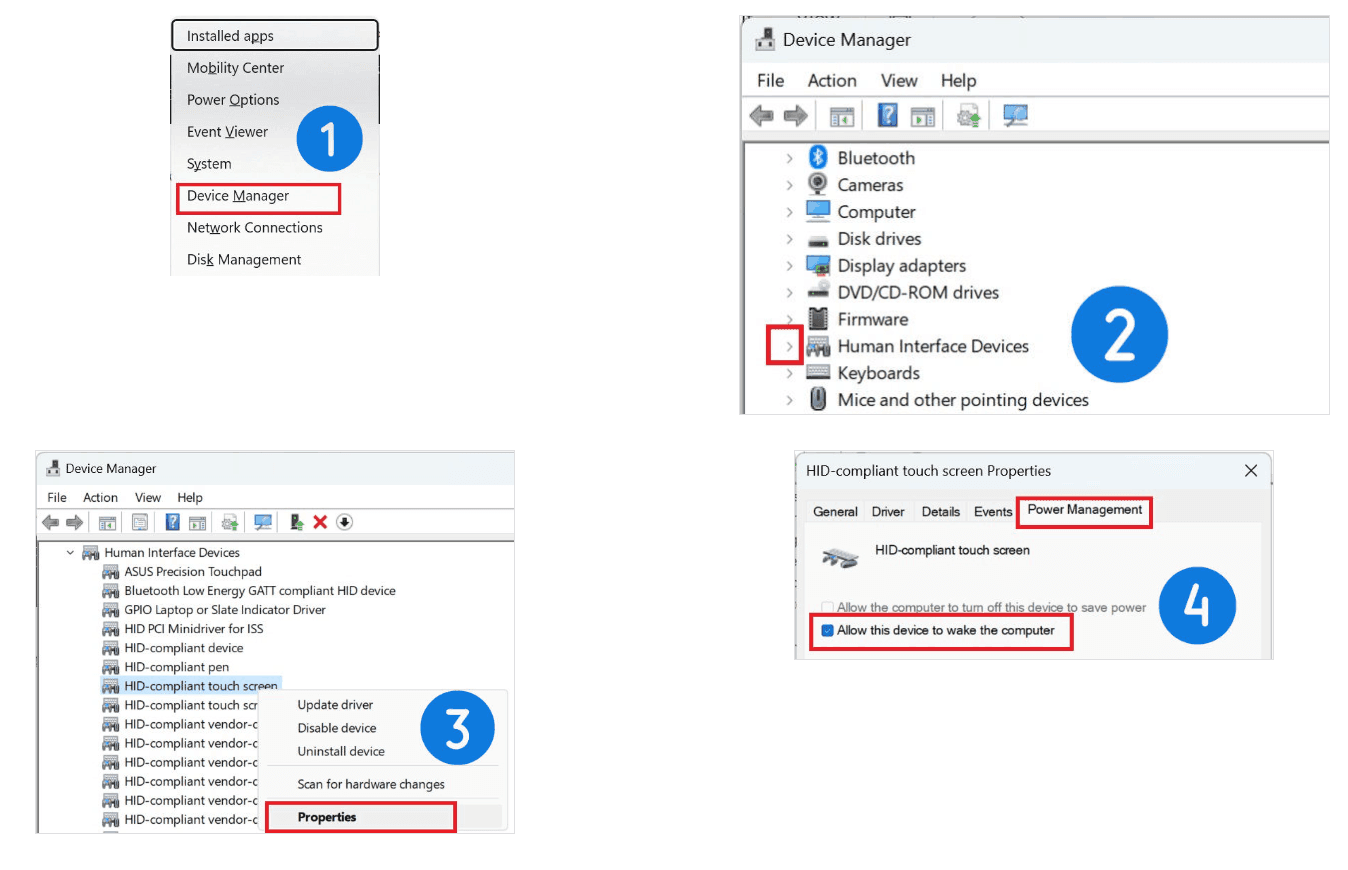
- Press Windows + X and select Device Manager from the menu.
- Expand the Human Interface Devices (HID) section.
- Locate your touchscreen device (usually labeled as HID-compliant touch screen).
- Right-click the device and choose Properties.
- In the Power Management tab, check the box that says Allow this device to wake the computer.
- Click OK to confirm.
At this point, you’ve successfully confirmed that your laptop or extra monitor supports Wake-on-Touch.
Step 2: Modify Power Settings
After confirming the wakeable device, the next step is to modify the power settings for a smooth Wake-on-Touch experience.
Modify Sleep Settings
- Press Windows + I to open Settings.
- Navigate to System > Power & sleep.
- Under Additional power settings, click Change plan settings.
- Adjust the Put the computer to sleep settings to ensure that the laptop can wake from a touch event.
By configuring these settings, your laptop extra monitor will now be able to wake up instantly when touched, making your workflow much smoother.
Advanced Setup: Editing the Registry for Wake-on-Touch
For users who want more control over their Wake-on-Touch functionality, you can further fine-tune your system by editing the Windows 11 registry.
Warning: Editing the registry can be risky if done incorrectly. Be sure to back up the registry before making any changes.
Step 1: Access the Registry Editor
- Press Windows + R to open the Run dialog.
- Type regedit and press Enter.
- In the Registry Editor, navigate to the following path:

Step 2: Modify the CsEnabled Setting
- Find the CsEnabled DWORD value in the Power key.
- If the value is set to
1, change it to0. This disables Connected Standby, which can interfere with Wake-on-Touch functionality. - If the CsEnabled value does not exist, right-click on the right pane, select New > DWORD (32-bit) Value, and name it CsEnabled.
- Restart your system to apply the changes.
With this advanced configuration, your Wake-on-Touch feature should now work seamlessly.
Troubleshooting Common Wake-on-Touch Issues
Sometimes, issues arise when enabling Wake-on-Touch or setting up a laptop extra monitor. Below are some common problems and their solutions:
Issue 1: Touchscreen Doesn’t Wake the System
Solution: Check the Device Manager to ensure that the Allow this device to wake the computer box is checked. Also, make sure your touchscreen drivers are up to date.
Issue 2: Extra Monitor Not Detected
Solution: Ensure all cables are properly connected and the monitor is powered on. Use the Detect button in the Display settings to manually detect the monitor.
Issue 3: Sleep Mode Conflicts
Solution: If your system’s sleep settings conflict with Wake-on-Touch, you may need to adjust the CsEnabled value in the registry, as described above, or modify your power settings.
Why ONext Monitors Are Ideal for Laptop Extra Monitor Setups
When it comes to choosing the right laptop extra monitor, ONext portable monitors offer an unbeatable combination of features and value. Here’s why ONext is your best choice:
- Touchscreen Functionality: ONext monitors support touch input, making them perfect for Wake-on-Touch setups.
- High-Resolution Display: Enjoy crisp, vibrant visuals, ideal for work, gaming, or creative tasks.
- Lightweight and Portable: ONext’s ultra-light design makes it easy to take your extra monitor on the go, without compromising on quality.
- Multiple Connectivity Options: Whether it’s HDMI, USB-C, or DisplayPort, ONext monitors offer versatile connection options to suit any device.
- Durability and Design: With a sturdy, premium build, ONext monitors are designed to withstand daily use, all while looking sleek and professional.
Conclusion: Maximize Your Workflow with a Laptop Extra Monitor and Wake-on-Touch
Setting up your laptop extra monitor in Windows 11 and enabling Wake-on-Touch can greatly enhance your productivity, whether you’re working from home or on the go. By following the steps outlined in this guide, you can enjoy a seamless, efficient, and hassle-free multi-monitor setup. And when it comes to choosing the right monitor, ONext portable monitors stand out as the ideal choice for anyone looking for performance, portability, and cutting-edge features.
ONext Best-selling product
-
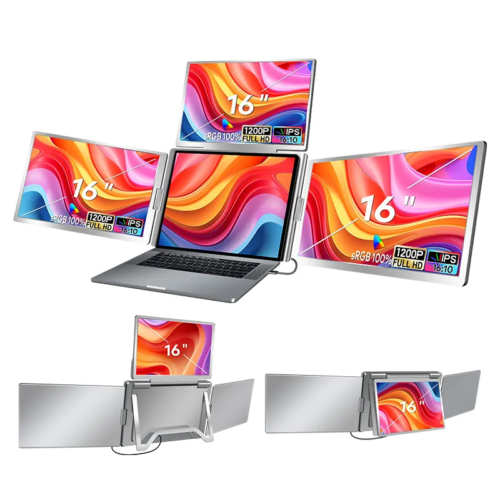 ONext 100% SRGB 16 Inch Quad Monitor 1 Cable for Trifold Laptop Monitors, Vibrant 3-Display for Windows & MacOS
 -
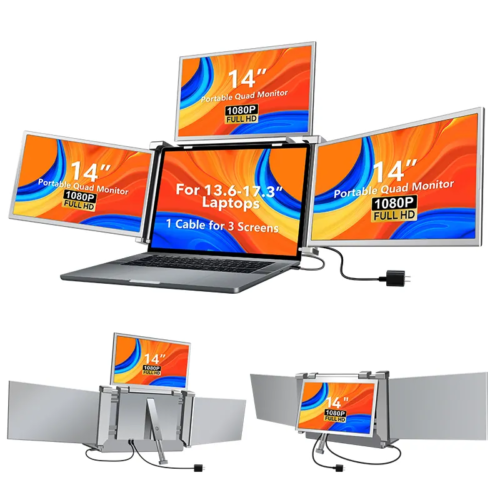 ONext 14″ Quad Monitor Laptop Screen Extender – FHD 1080P, 1 Cable for 3 Screens, Portable IPS for 13.6″-17.3″ Laptops (Win/Mac M1-M3)
 -
 ONext 23.8″ FHD100Hz 100% sRGB Dual Screen Laptop Extra Monitor – 315° Adjustable for Work & Gaming
 -
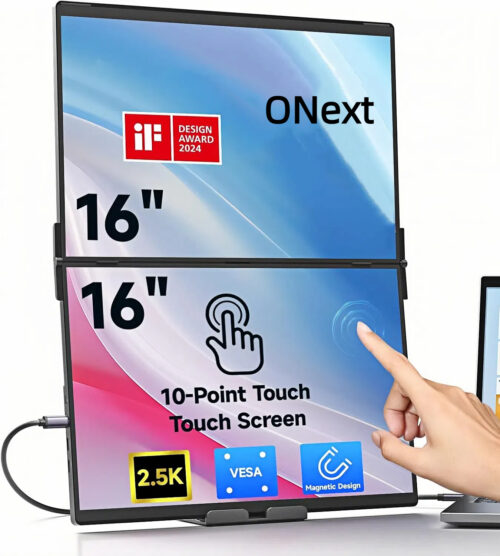 ONext 16″ Laptop Screen Extender Foldable Dual Stacked Portable Monitor with Built-in Hub, Magnetic Design, Single Cable for 1080P Triple Monitor Setup
 -
 ONext 18.5″ Laptop Dual Screen Monitor 1080P 100Hz, Foldable Double Screen Laptop Display for Win/Mac
 -
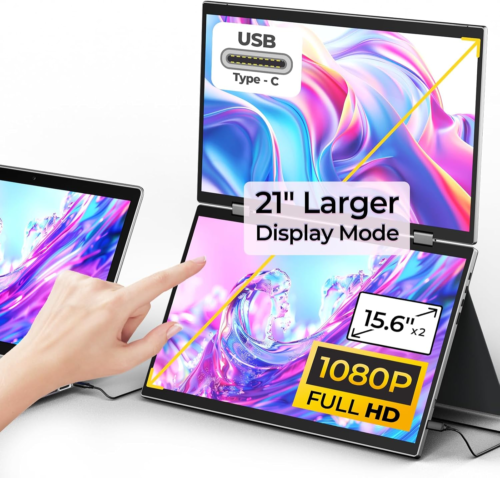 ONext 15.6″ Dual Screen 1080P FHD Stacked Folding Triple Monitor HDMI USB-C Portable Dual Monitor for Laptop Windows Mac (No Driver Needed)