When working on high-stakes projects—whether it’s editing a blockbuster film, creating content for social media, or designing graphics for a client—the need for expansive screen space becomes essential. While a single monitor can handle small tasks, a 3-screen display setup can revolutionize your video editing and design workflow. Here’s why upgrading to three screens will drastically improve your productivity and creative capabilities.
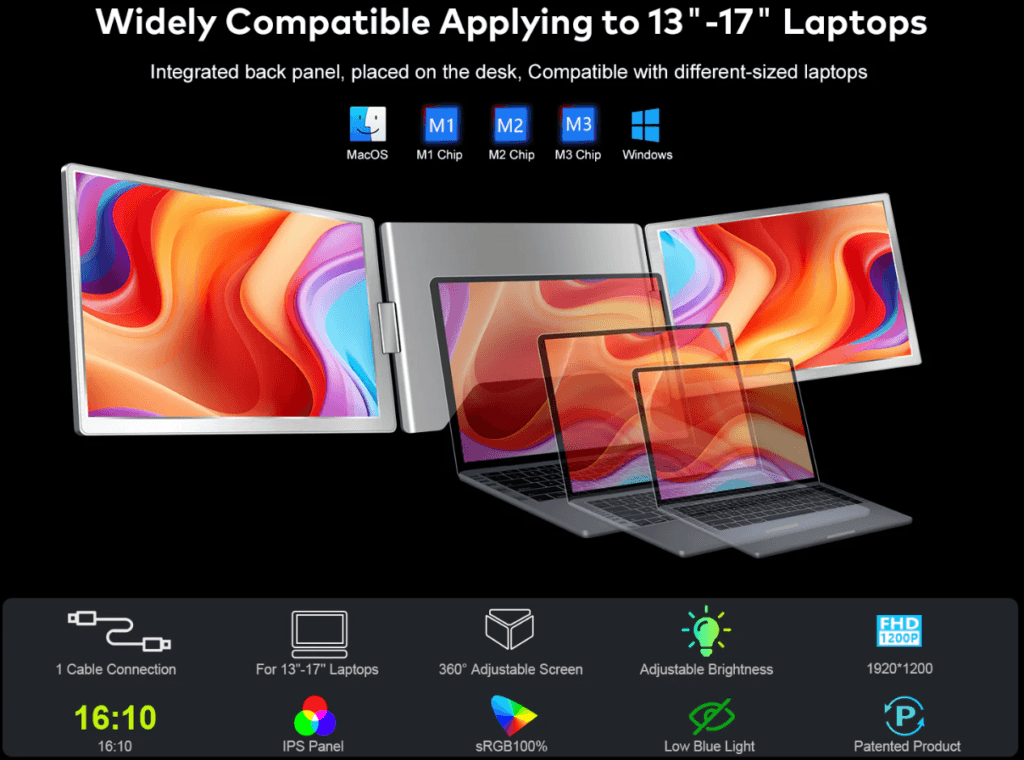
The Power of Three: Why a 3-Screen Display Setup Is Essential for Video Editing and Design
Video editing and design involve handling multiple layers, timelines, and assets at once. For professionals in these fields, being able to see everything at once can significantly enhance workflow and productivity. A 3-screen setup offers the perfect solution. Here’s how:
1. Better Workflow Management
With three screens, the days of endlessly toggling between tabs or minimizing windows are over. Each monitor serves a specific purpose, allowing you to manage your tasks effortlessly. Here’s a typical layout for a 3-screen setup:
- First Screen: Your main workspace where the video timeline or design canvas resides.
- Second Screen: The video preview, rendering window, or editing tools.
- Third Screen: Reference materials, such as source footage, assets, or design guides, ensuring you don’t interrupt your flow by constantly switching between applications.
This simple layout keeps your workspace organized and reduces time wasted on unnecessary clicks, enabling smoother, more efficient work.
2. Enhanced Productivity
Multitasking becomes easier with three screens. Rather than resizing windows or jumping between apps, you can dedicate each screen to a specific task:
- One Screen for video editing software.
- Another Screen for a preview of the video.
- A Third Screen for references and tools.
This setup allows you to focus on different aspects of the project at once, speeding up the entire workflow and reducing time spent flipping between windows. With all necessary tools visible simultaneously, you can tackle complex tasks much faster and complete projects with greater efficiency.
3. Improved Color Accuracy and Detail
In video editing and design, color accuracy is vital. With three screens, you can dedicate one monitor for color grading and another for design consistency, ensuring that every visual element is perfectly calibrated. Here’s how to use the screens effectively:
- Primary Screen: Where the editing or design work is done.
- Secondary Screen: A dedicated screen for color grading or visual consistency checks.
- Tertiary Screen: A reference monitor for client feedback, or to compare your work with real-world images.
This additional screen space allows you to focus on intricate details, providing the flexibility to tweak your visuals with accuracy.
4. Easy Collaboration and Client Interaction
Collaborating with clients or working with teams becomes much easier with a 3-screen display setup. You can:
- Keep client feedback open on one screen.
- Have the timeline or design file visible on another.
- Access reference materials on a third.
This setup minimizes the need to share a single screen or constantly switch between apps. It speeds up the feedback process and allows you to continue working while interacting with clients or teammates, even remotely. The seamless flow between tasks improves communication and project efficiency.
5. More Freedom for Creative Expression
A 3-screen display setup offers unmatched freedom. It lets you break down your work into separate sections:
- Working on an animation in one screen.
- Adjusting audio levels in another.
- Reviewing color grading in the third.
This setup offers a more dynamic approach to your creative process, allowing you to delve deep into different elements of your project simultaneously. This is particularly beneficial when you’re under tight deadlines or managing complex design tasks.
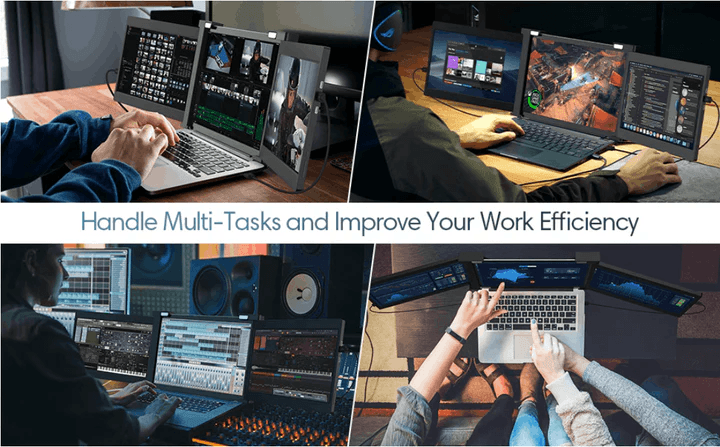
How to Set Up a 3-Screen Display for Video Editing and Design
Setting up a 3-screen display system is relatively simple, provided you have the right equipment. Here’s a step-by-step guide to get started:
1. Choose the Right Monitors
For a smooth video editing or design experience, choose monitors with at least 1080p resolution, though 4K is preferable for professionals. Make sure all three monitors are of similar size and resolution to avoid any visual disruptions between screens. For color accuracy, IPS panels and monitors with high refresh rates are ideal.
2. Ensure Compatibility with Your Laptop or PC
Check if your computer can support three monitors. Most modern laptops and desktops can handle multiple displays, but you may need an additional graphics card or docking station for additional ports. Make sure your laptop or PC has enough HDMI, DisplayPort, or USB-C outputs, and use the appropriate adapters if necessary.
3. Configure the Displays
After connecting your monitors, access your operating system’s display settings to configure them. Arrange the displays to match the physical layout of your screens so that moving your cursor between them feels seamless.
4. Calibrate Your Displays
Color accuracy is essential in both video editing and design. Calibrate each monitor to ensure color consistency across your displays. While many modern monitors are factory-calibrated, you can also use third-party calibration tools for a more precise setup.
Looking to level up your video editing and design capabilities? Check out Onext’s range of high-end portable monitors to complement your multi-screen setup and elevate your creative projects to new heights.
-
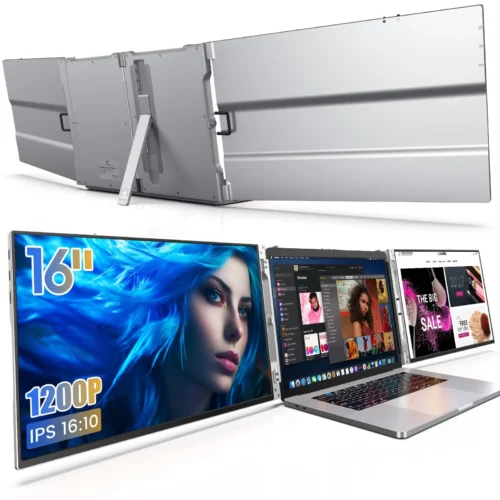 16 inch Portable Triple Monitor for 15-17.3 Inch Laptop FHD 1200P Frameless Al Alloy Triple Screen Laptop Monitor Extender with USB/HDMI Tri-Screen Laptop Extender for Mac & Win
 -
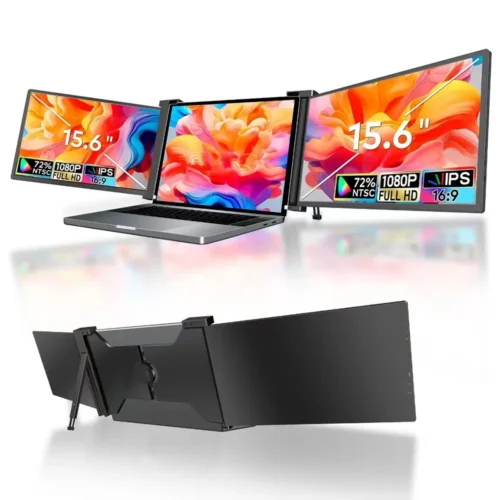 Upgraded 15.6″ Laptop Screen Extender,FHD 1080P Triple Laptop Extra Display Detachable
 -
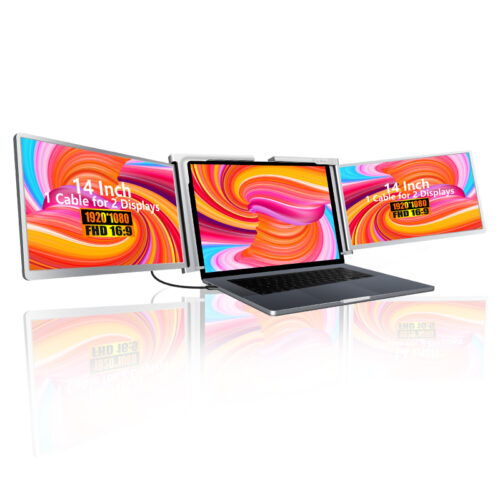 14″External Laptop Monitors Full HD IPS Triple Screen Extendable Monitors For Laptops