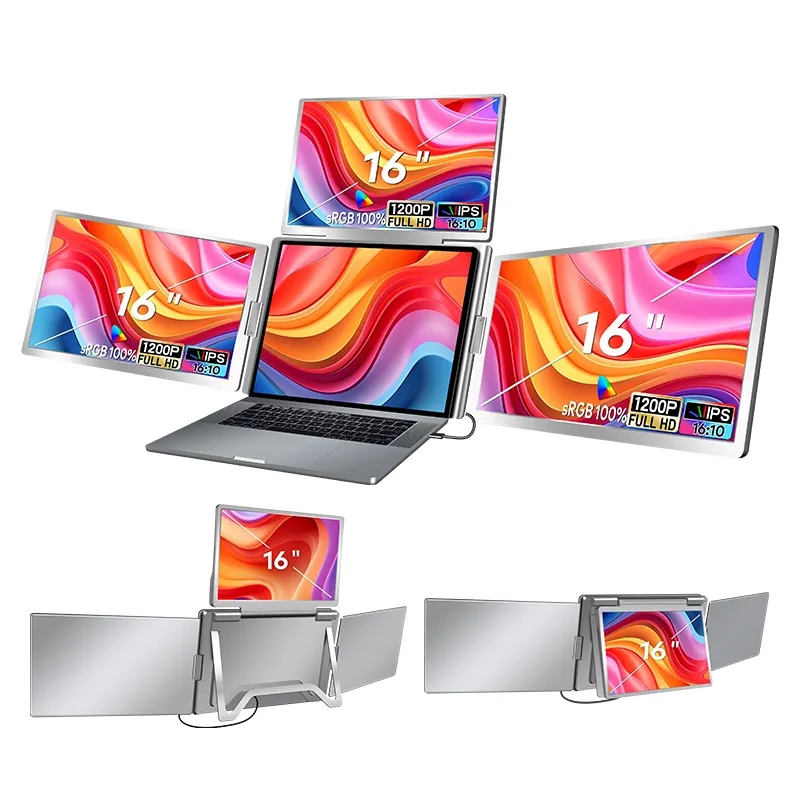
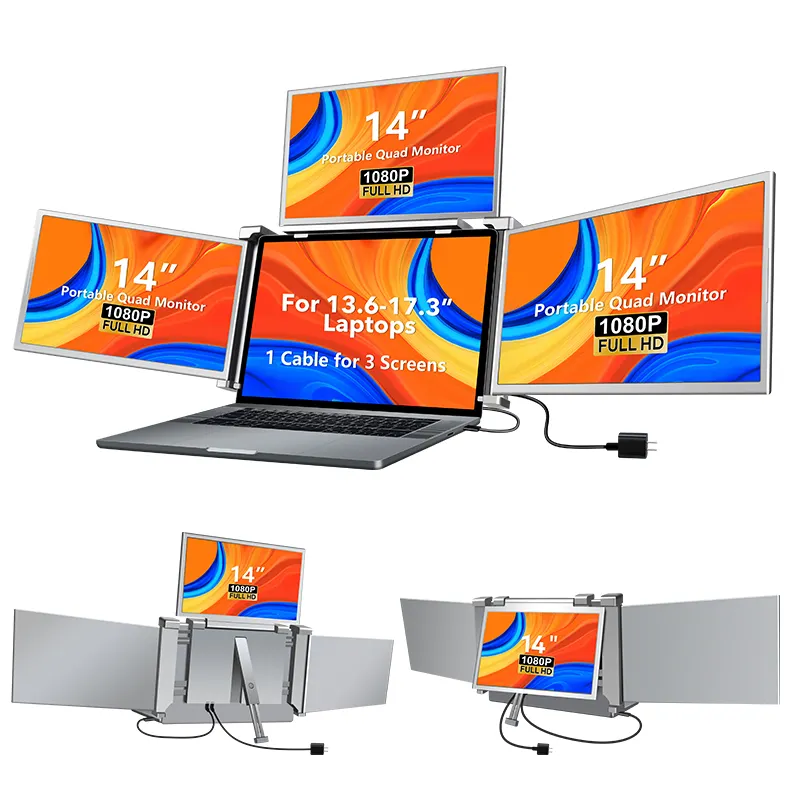
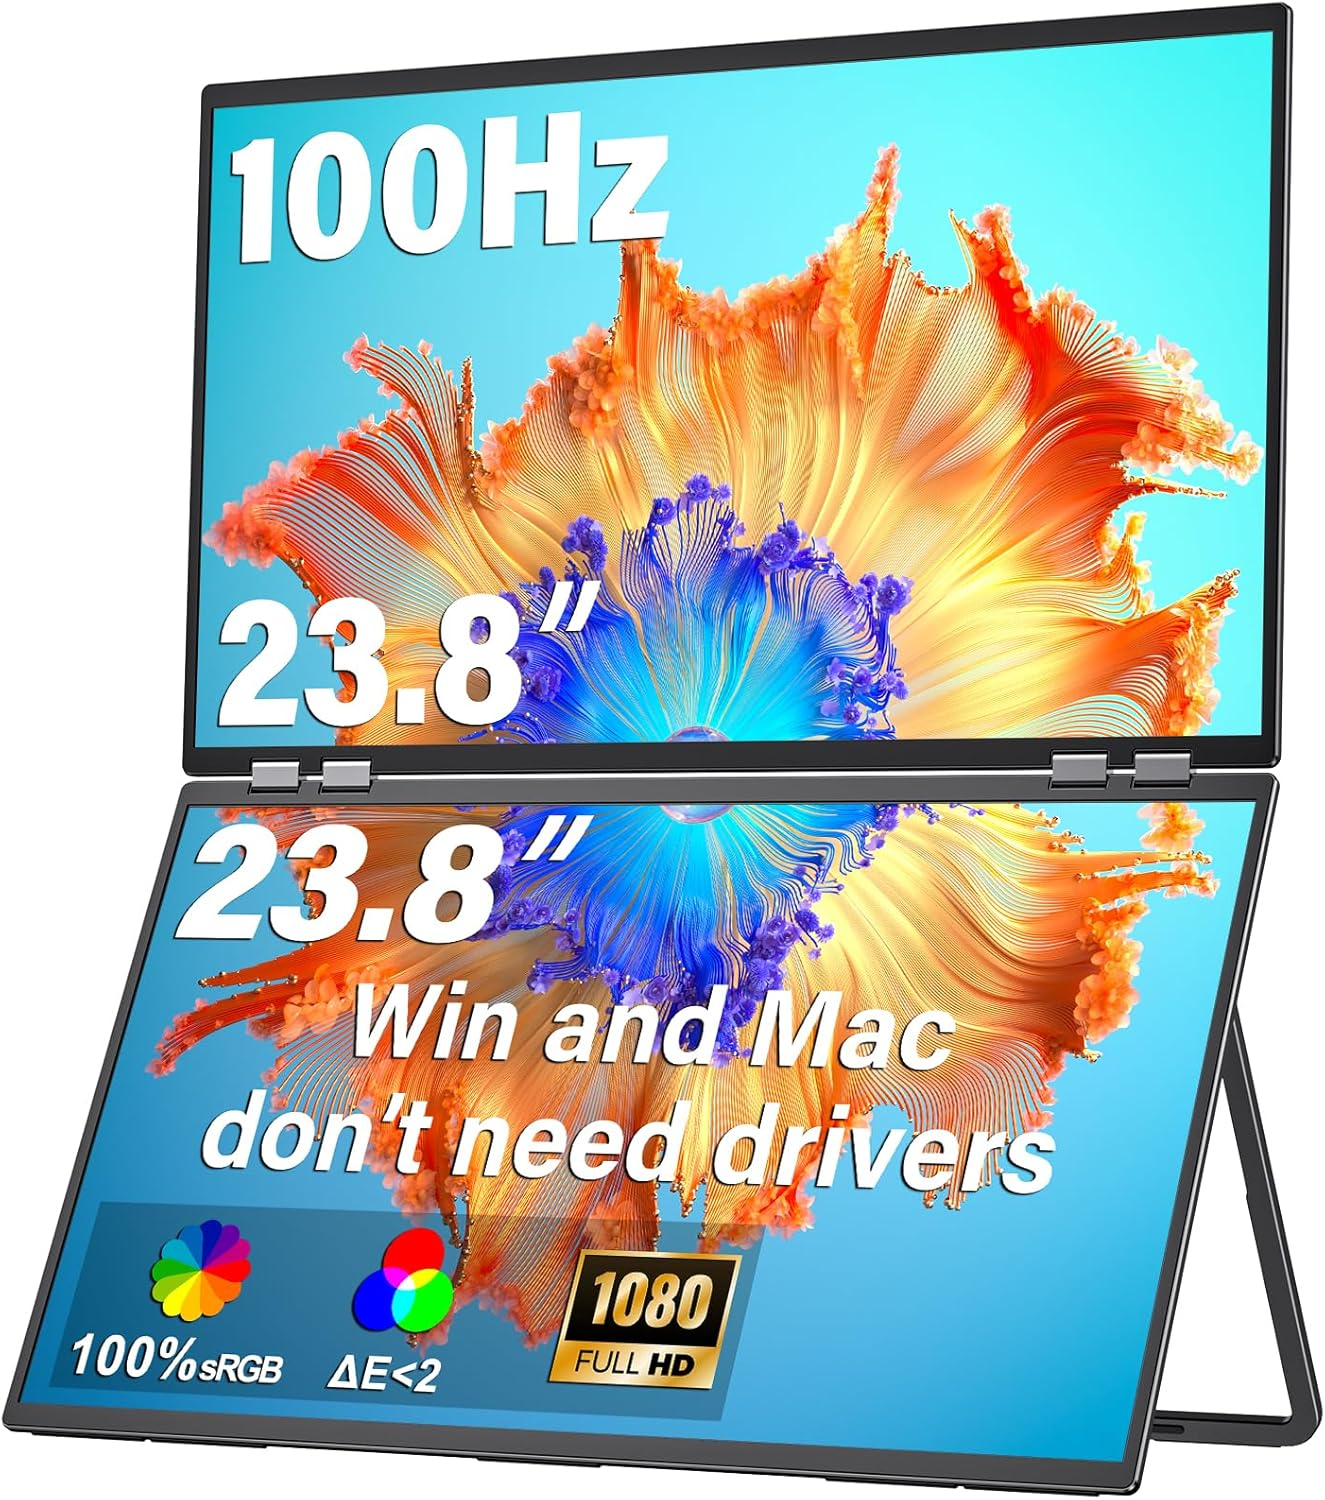
Introduction: Are You Ready to Triple Your Productivity (and Fun)?
Imagine: it’s a typical workday, and you’re juggling between spreadsheets, emails, and that design project with far too many layers. Now imagine having an entire screen for each task. Sounds magical, right? Welcome to the world of triple screen for laptop! This guide is for those brave souls seeking to turn their laptop setup into a command center, one screen just for reference, another for active work, and the third for whatever you’re streaming on the side (we won’t tell). Let’s explore how to extend laptop screen to two monitors and how it can elevate productivity, add to your enjoyment, and tackle some nagging workspace pain points.
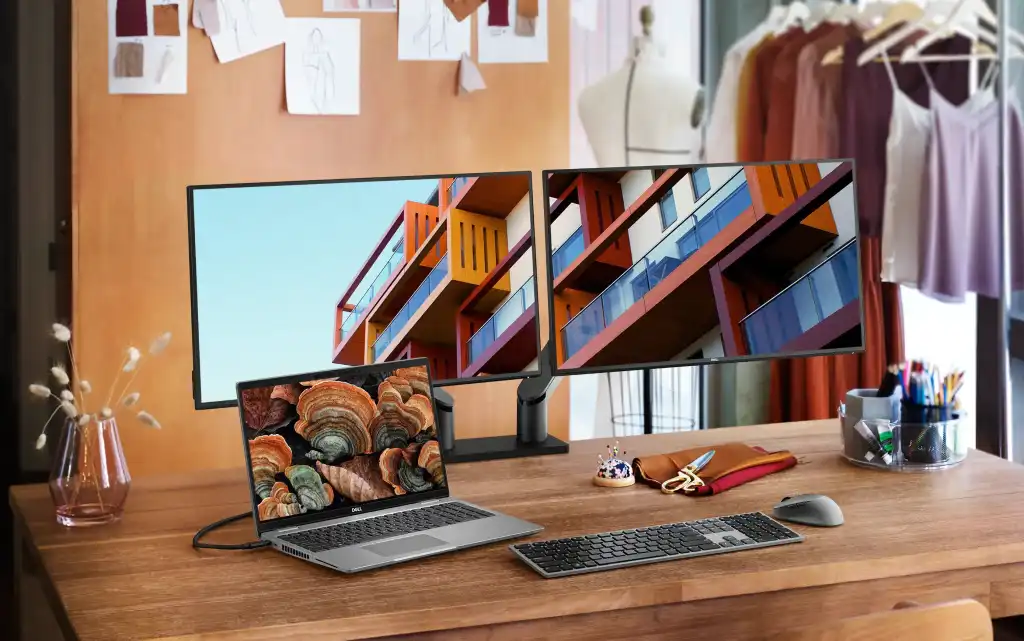
1. Why Go Triple? The Benefits of Extending Your Laptop Screen
We live in a world that rewards multitasking, and having more than one screen lets you manage more than you thought possible. Here’s why you should consider extend laptop screen into a triple display setup:
- Productivity Overdrive: More screens mean more tasks visible at once, allowing for better organization, less screen-switching, and fewer interruptions.
- Streamlined Workflow: A triple screen for laptop setup is perfect for professionals and creators who often need to reference multiple sources or keep communication open while working.
- Enhanced Focus and Reduced Stress: Keeping each app in its own space helps declutter your digital workspace and makes it easier to stay focused.
Whether you’re deep in design mode or just need to keep Slack open without disrupting other tasks, having extra screens makes life easier.
2. Step One: Know Your Laptop Inside and Out
Before adding more screens, we need to make sure your laptop has what it takes to handle them. Here’s a checklist to verify compatibility:
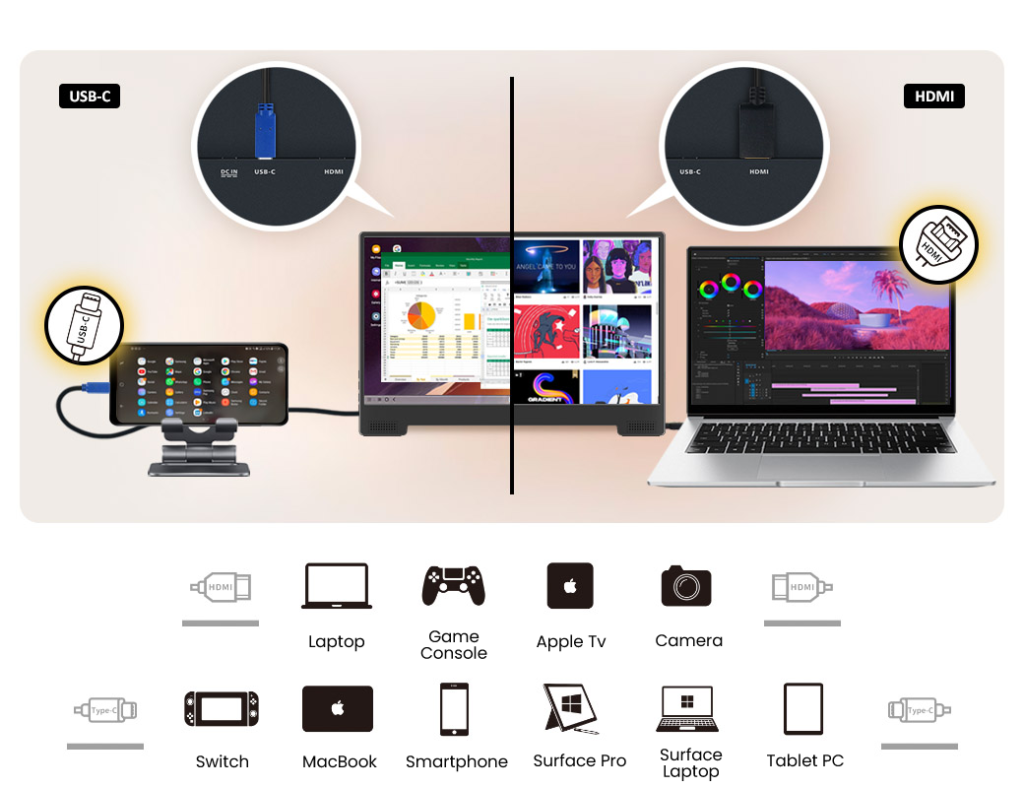
- Ports Galore: Laptops often come with HDMI, DisplayPort, Thunderbolt, or USB-C ports. Each of these can support a different type of monitor, and we’ll use them all if we have to.
- Graphics Card Compatibility: This part is crucial. Many laptops support only one extend laptop screen display, but more powerful graphics cards can handle two or even three. Do a quick online check to confirm your graphics card model and its external display capacity.
3. Assemble the Team: What Equipment You’ll Need
To extend laptop screen to two monitors, you’ll need some key items to bring your triple screen for laptop dreams to life:
- Adapters and Cables: Based on your laptop’s ports, gather HDMI, USB-C, DisplayPort, or VGA cables (yes, VGA is still hanging on out there).
- Docking Station or USB Hub: If you don’t have enough ports, a docking station can be your new best friend. Look for one that supports dual monitor output.
- Monitor Stands or Mounts: Your setup can get bulky, so consider some stands or mounts to free up desk space and keep your screens at eye level.
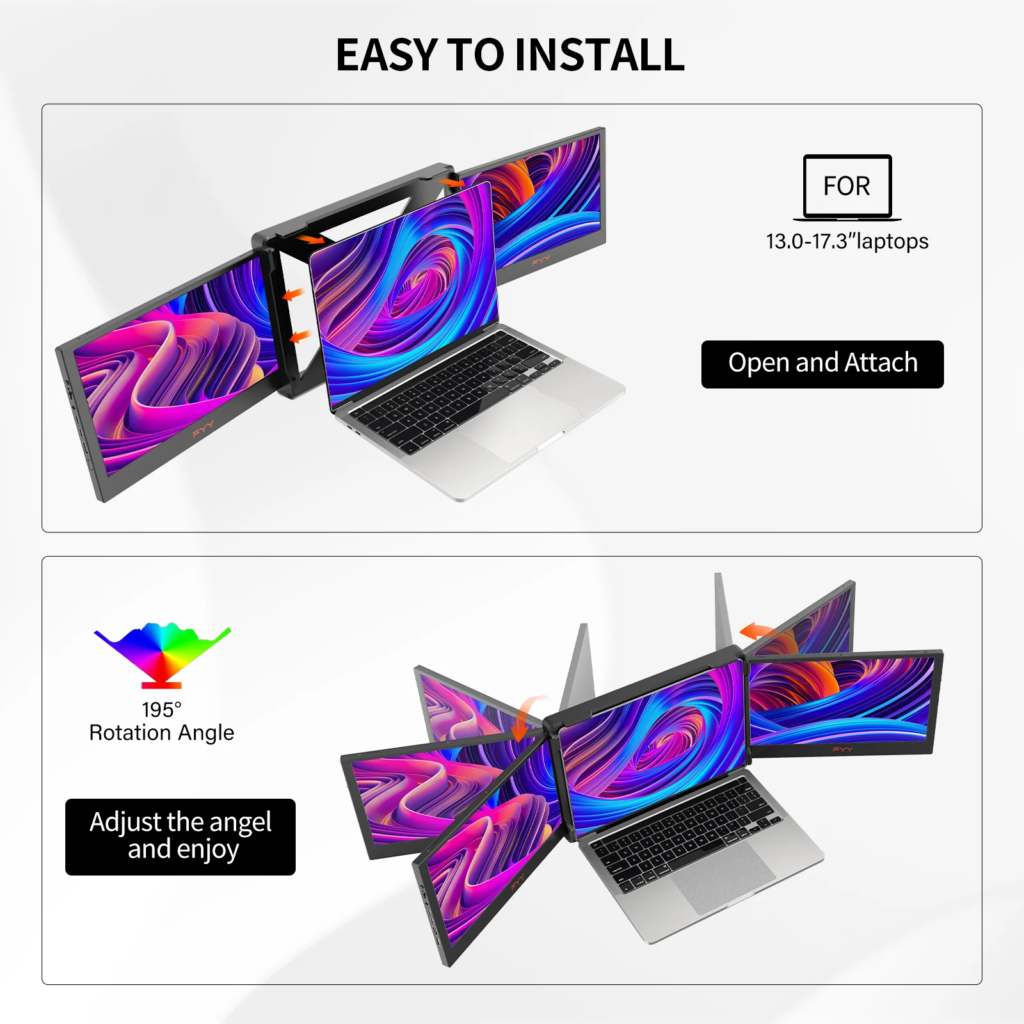
4. Plug and Play: Setting Up Your Triple Screen
Now, onto the fun part—connecting your monitors. Follow these steps to hook everything up:
- Connect Monitor 1: Plug in your first monitor using an HDMI, DisplayPort, or USB-C cable. Make sure you’re using a high-quality cable to avoid flickering.
- Connect Monitor 2: For the second monitor, connect using a different port or through a docking station. Many docks allow for dual monitors, making setup a breeze.
- Power On and Check Inputs: Make sure each monitor is powered on and set to the correct input source. If your monitor isn’t showing up, toggle through the input options.
5. Time to Configure: Setting Up Your Display Settings
Once your monitors are physically connected, configure your display settings to start enjoying that extended workspace:
- On Windows: Right-click on the desktop and go to Display Settings. Arrange your monitors by dragging them in the virtual layout. Select “Extend these displays.”
- On macOS: Open System Preferences > Displays, and click on “Arrangement” to align the monitors. Uncheck “Mirror Displays” to ensure each monitor functions independently.
Take a moment to organize the monitors on-screen in a way that mimics your physical setup for seamless cursor transitions.
6. Optimize Your Workflow: Arranging Your Workspace Like a Pro
With your triple screen for laptop ready to go, it’s time to get organized and make the most of your setup:
- Define Tasks for Each Screen: Consider dedicating one monitor to your primary task, one for reference material, and one for communication tools.
- Use Window Management Tools: On Windows, PowerToys is a handy tool for snapping windows into place, while macOS users can try apps like Magnet for neat organization.
- Experiment with Virtual Desktops: On macOS and Windows, virtual desktops can add layers to your setup, helping you manage even more tasks.
7. Troubleshooting Like a Tech Guru
Some common issues may arise when setting up a multi-screen system, but fear not! Here are some typical problems and solutions:
- Blank or Flickering Screens: Check that your cables are firmly connected. Flickering often means a loose connection or an incompatible cable.
- Incorrect Resolution or Scaling: Manually adjust each screen’s resolution in Display Settings to match the native resolution of each monitor.
- No Signal Detected: Try switching the monitor input settings, checking your laptop’s Display Settings, or updating your graphics drivers.
8. Add-ons and Extras to Enhance Your Multi-Monitor Setup
Consider upgrading your workstation with these useful peripherals:
- Ergonomic Mouse and Keyboard: You’ll be doing a lot more clicking and typing, so invest in ergonomic devices to prevent strain.
- Monitor Arms: Adjustable arms can help keep all three monitors at the correct height and angle, freeing up desk space.
- External Storage Drives: Triple screen setups often demand more from your device, so external storage or an SSD can keep your laptop running smoothly.
9. Essential Software for Triple Screen Setups
Now that you have three screens, why not add some software to optimize and personalize your setup?
- DisplayFusion: A highly recommended tool for Windows that offers multi-monitor taskbars, split-screen support, and wallpaper controls.
- Rectangle (macOS): A free tool for macOS that snaps windows into place and provides custom layout options.
With these software tools, managing three screens becomes a breeze.
10. Don’t Forget Ergonomics
Multiple screens can mean multiple ways to strain yourself! Here’s how to stay comfortable with your setup:
- Eye-Level Monitors: Position your monitors so that the top is at or just below eye level. This helps reduce neck strain.
- Arm’s Length Distance: Keep each screen about an arm’s length away for optimal viewing.
- Take Regular Breaks: The added workspace might encourage you to stay glued to the screen, so make it a habit to take breaks and rest your eyes.
11. Security Precautions
With more screens, sensitive information might be visible at a glance. Here’s how to keep things secure:
- Privacy Filters: Invest in privacy filters for your monitors, especially if working in shared or public spaces.
- Disable Unused Ports: When not in use, disable Bluetooth, USB, and other ports to prevent unauthorized access.
Conclusion: Elevate Your Workflow, Your Fun, and Your Workspace
Triple screen for laptops offer a streamlined, spacious environment that can change the way you work and play. By following this guide, you’ll have the knowledge to extend laptop screen into a triple screen setup, allowing for better multitasking, enhanced productivity, and even a little extra entertainment on the side.
With this setup, you’ll be well on your way to mastering the art of multitasking—whether you’re deep into research, crafting the perfect design, or conquering a virtual world. So go ahead, make your workspace your own, and enjoy the benefits of extend laptop screen to two monitors!
