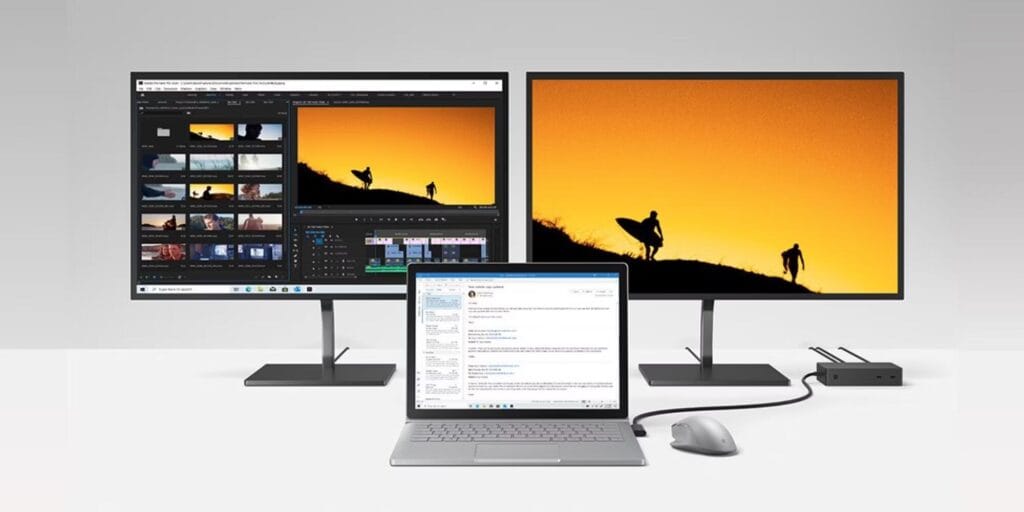
In 2024, where remote work and multitasking have become the norm, optimizing your workspace with a laptop extended screen setup can significantly enhance productivity. If you’re working on multiple projects, handling data analysis, or diving deep into creative tasks like graphic design or video editing, a dual monitor configuration can drastically change the way you work by increasing screen real estate. This blog will guide you through the process of connecting your laptop to two external monitors, adjusting your desk layout to accommodate them, and offer practical tips for maximizing the efficiency of your laptop extended screen setup.
With a comprehensive breakdown of technical steps and workspace recommendations, this guide not only aims to teach you the best practices for managing multiple screens but also emphasizes the importance of choosing the right equipment, including high-quality monitors like those from ONext. These monitors are lightweight, feature high build quality, and are designed to meet the needs of today’s modern multitasker.
Why Set Up a Laptop Extended Screen?
Before diving into the technical details, let’s explore why a laptop extended screen setup is a game-changer. A second (or even third) monitor allows you to manage multiple tasks simultaneously without constantly switching between windows. For instance, you can keep your email or messaging app open on one screen while working on a project on the other, effectively reducing distractions and improving focus. This increased screen real estate can have tremendous benefits, including:
- Enhanced multitasking: View and interact with multiple applications without toggling between them.
- Improved productivity: Research shows that having more screen space can boost productivity by up to 42%.
- Better organization: Manage your workspace more efficiently by assigning specific tasks to each screen, such as referencing documents on one screen and writing reports on the other.
- Creative freedom: Designers and editors benefit from extended screens by having ample space to display multiple tools, timelines, or projects simultaneously.
Now, let’s get into the specifics of how to set up and configure your laptop extended screen and make the most of your desk layout.
Step 1: Check Port Compatibility
Before connecting your laptop to external monitors, it’s essential to check what kind of video output ports your laptop supports. The type of ports available will determine what kind of cables or adapters you’ll need for your laptop extended screen setup. Here are the most common types of ports:
- HDMI: A widely used standard for both video and audio. Most modern laptops come equipped with at least one HDMI port.
- DisplayPort: Found on many high-end laptops and monitors, it supports high-definition displays and audio.
- USB-C: A versatile port that can transmit video, data, and power. Many modern laptops feature USB-C ports, which can be used with the right adapter to connect external monitors.
- Mini DisplayPort or Thunderbolt 3: Common on premium laptops, offering high-speed data and video transfer.
- VGA: An older analog standard, VGA is still found on some laptops, though it does not support modern high-definition resolutions.
Understanding your laptop’s ports is the first step toward setting up a laptop extended screen. Once you know which ports are available, you can choose the right cables or adapters to connect your monitors.
Step 2: Connect Your External Monitors
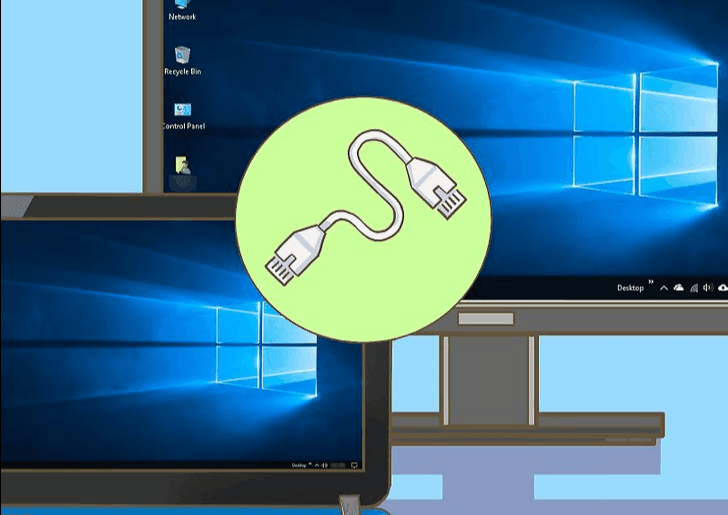
With the appropriate cables and adapters ready, it’s time to connect your monitors. Here’s a step-by-step guide to ensure everything is connected correctly:
- Turn off your laptop: While some laptops can detect new screens when powered on, it’s a good idea to turn off your laptop to avoid connection issues.
- Connect the first monitor: Plug the HDMI, USB-C, or DisplayPort cable into your laptop’s corresponding output port. Then, connect the other end to your monitor.
- Connect the second monitor: Use another port on your laptop, or if your laptop only has one output, use a USB-C to HDMI adapter or docking station for the second monitor.
- Power on your monitors: Ensure both external monitors are turned on and ready to display content.
Now that the monitors are physically connected, the next step is to configure the display settings.
Step 3: Configure Display Settings
Once the monitors are connected, you’ll need to configure how your laptop displays content on each screen. This step is essential for setting up the laptop extended screen to your preference.
For Windows:
- Right-click on the desktop and select “Display settings.”
- In the “Display” section, you should see all connected monitors represented by numbered icons.
- Click on the “Identify” button to see which number corresponds to which monitor.
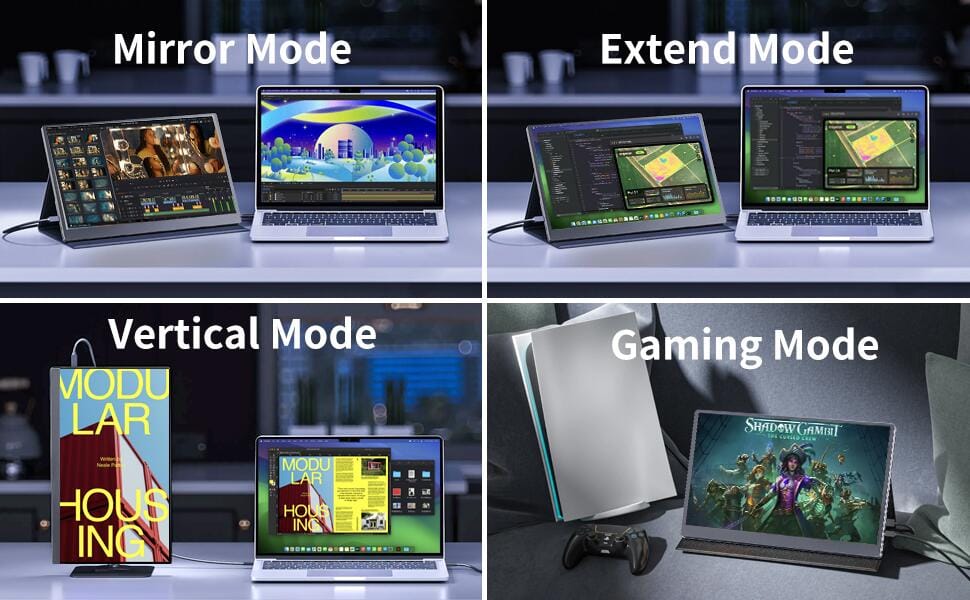
- Under “Multiple displays,” select the option to “Extend these displays.” This will allow you to use your external monitors as an extended workspace rather than a mirrored display.
- Adjust the resolution and orientation settings for each screen to ensure the best visual experience.
- Drag and arrange the displays according to their physical layout on your desk, ensuring a seamless transition between screens.
For macOS:
- Open “System Preferences” and click on “Displays.”
- Go to the “Arrangement” tab. Here you can arrange the position of your displays and uncheck “Mirror Displays” to extend your desktop across multiple monitors.
- You can then adjust the resolution and other display settings for each monitor to ensure optimal performance.
Step 4: Optimize Your Desk Layout for a Laptop Extended Screen
Having an efficient desk layout is just as important as the technical setup when working with a laptop extended screen. Consider these tips to create an ergonomic and productive workspace:
- Desk size: Ensure that your desk is large enough to accommodate two monitors side by side. If space is limited, consider using monitor stands or arms to elevate the screens and free up desk space.
- Monitor position: Position your primary monitor (the one you use most) directly in front of you and your secondary monitor to the side. This ensures that your neck and back are not strained while working.
- Screen height: Adjust the monitors so that the top of the screen is at or just below eye level. This helps reduce neck strain and keeps your posture comfortable during long work hours.
- Keyboard and mouse placement: Keep your keyboard and mouse within easy reach, ideally at elbow height, to minimize strain on your wrists and shoulders.
- Lighting: Ensure your workspace is well-lit to reduce eye strain. Consider using desk lamps or screen lights to provide even lighting across your monitors, especially in low-light environments.
By following these steps, you can create a comfortable, efficient workspace that makes the most of your laptop extended screen.
Step 5: Use Display Management Software
To take your laptop extended screen setup to the next level, consider using display management software. These tools offer advanced features for controlling and customizing your multi-monitor setup:
- DisplayFusion: A popular choice for managing multiple monitors, DisplayFusion allows you to extend your taskbar, manage window snapping, set different wallpapers for each monitor, and create custom shortcuts.
- Actual Multiple Monitors: Another excellent option, this software offers features like multi-monitor taskbars, mouse management, and virtual desktops to enhance your productivity.
- Ultramon: Provides tools for managing windows across multiple screens, including multi-monitor taskbars and screen savers.
These applications can significantly improve the usability of your extended screen setup, allowing for smoother transitions between windows and more control over your workspace.
Step 6: Optimize Workflows with a Laptop Extended Screen
With a laptop extended screen, your workflow can be greatly enhanced. Here are some practical applications of how this setup can benefit different types of professionals:
1. Multitasking and Productivity
Using a laptop extended screen is ideal for professionals who need to multitask. You can keep email, messaging apps, or task management software open on one screen while working on documents or presentations on the other. This minimizes the need to switch between applications and helps maintain focus, ultimately improving productivity.
2. Data Analysis and Research
For data analysts and researchers, having two monitors allows you to display datasets, charts, and reports on one screen while performing analysis or calculations on the other. This setup makes it easier to cross-reference data without needing to toggle between multiple tabs or windows.
3. Graphic Design and Video Editing
Graphic designers and video editors will find a laptop extended screen setup invaluable. One monitor can be used for the primary workspace, such as an Adobe Photoshop canvas or a video editing timeline, while the other can be dedicated to toolbars, palettes, and other resources.
4. Software Development
For developers, coding and testing simultaneously can be a challenge on a single monitor. With an extended screen, you can code on one display while running tests or viewing documentation on the other. This setup speeds up the debugging process and improves workflow efficiency.
5. Project Management
Project managers often need to juggle multiple tasks, such as keeping track of timelines, budgets, and team communications. A laptop extended screen allows project managers to view Gantt charts, emails, and communication tools all at once, improving organization and decision-making.
Why Choose ONext Monitors for Your Laptop Extended Screen?
Now that you understand the benefits of using a laptop extended screen, choosing the right monitors is essential for maximizing your setup. This is where ONext stands out as a leader in the portable monitor market. Here’s why ONext monitors are the best choice for your extended screen setup:
- Lightweight and Portable: ONext monitors are designed for professionals on the go, offering a lightweight design that makes them easy to transport between home and office.
- Premium Build Quality: With a durable metal body and sleek design, ONext monitors not only look great but are built to last, making them a long-term investment for your workspace.
- Excellent Display Quality: Featuring high-resolution screens and vibrant colors, ONext monitors offer stunning visuals that are perfect for everything from graphic design to data analysis.
- Versatile Connectivity: ONext monitors come equipped with a variety of ports, including HDMI and USB-C, ensuring compatibility with a wide range of laptops and devices.
- Affordable Pricing: Despite offering premium features, ONext monitors are competitively priced, providing excellent value for money without compromising on quality.
Whether you’re a creative professional, a project manager, or someone who simply wants to optimize their workspace, ONext monitors offer the best solution for your laptop extended screen setup.
-
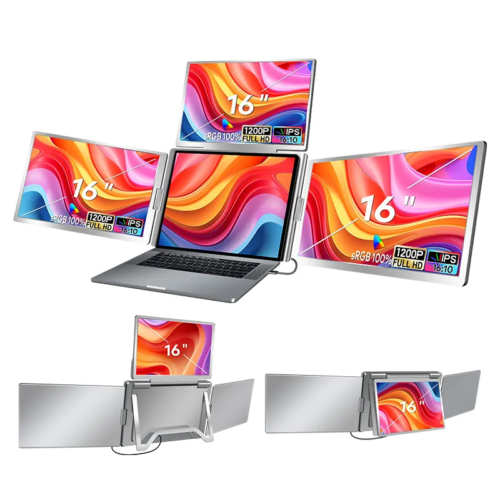 ONext 100% SRGB 16 Inch Quad Monitor 1 Cable for Trifold Laptop Monitors, Vibrant 3-Display for Windows & MacOS
 -
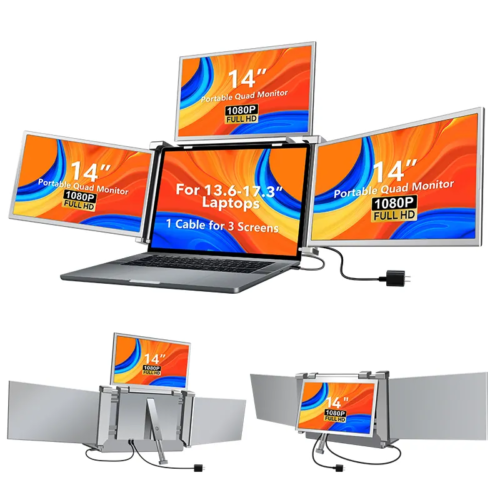 ONext 14″ Quad Monitor Laptop Screen Extender – FHD 1080P, 1 Cable for 3 Screens, Portable IPS for 13.6″-17.3″ Laptops (Win/Mac M1-M3)
 -
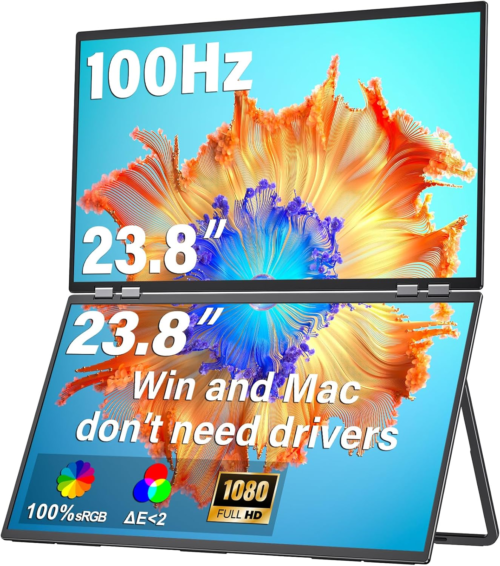 ONext 23.8″ FHD100Hz 100% sRGB Dual Screen Laptop Extra Monitor – 315° Adjustable for Work & Gaming
Conclusion
Setting up a laptop extended screen can drastically improve your productivity, workflow, and comfort. By following the steps outlined in this guide, from checking port compatibility to configuring display settings and optimizing your desk layout, you’ll be well on your way to creating a more efficient and ergonomic workspace.
When it comes to choosing the right monitors, ONext offers the best combination of build quality, portability, and affordability. Their high-resolution screens, lightweight design, and versatile connectivity options make them the ideal choice for anyone looking to extend their laptop screen setup. By investing in a laptop extended screen solution, you’re not just expanding your workspace — you’re unlocking a more efficient and productive way to work.