It is so easy to multitask on Windows when you split your screen in a way that you get to view multiple apps at a time. Whether comparing files, doing assignments, or browsing while noting points, splitting your screen makes all visible and timely. On Windows 10 or 11, you can use Snap Assist, keyboard shortcuts, or Snap Layouts to effortlessly organize your screen.
Why Split Your Screen?
Splitting your screen allows you to work more effectively by having multiple apps open at once. It’s perfect for students taking notes, businesspeople reviewing data, or designers referring to assets. Windows’ built-in features such as Snap Assist and Snap Layouts make it easy to manage your workspace, particularly on bigger or ultrawide monitors.
Method 1: Split Screen with Snap Assist
Snap Assist is the native Windows quick and easy screen splitting feature on both Windows 10 and 11. Below is how you can use it:
- Open Your Apps: Open the windows or apps you want to view side by side.
- Drag to Snap: Click and drag a window’s title bar to the left or right edge until an outline appears, then release to snap it to half the screen.
- Select Another Window: Snap Assist will show thumbnails of other open windows. Click one to occupy the other space.
- Adjust Sizes: Drag the dividing line between windows to resize their widths.
This method is ideal if you prefer to use your mouse to organize your workspace.
Method 2: Split Screen with Keyboard Shortcuts
Keyboard shortcuts provide a quick means of splitting your screen without having to touch the mouse. Here’s how:
- Select a Window: Click to bring the window you wish to snap into focus.
- Use Arrow Keys: Snap it to the left by pressing Windows key + Left Arrow, or snap it to the right by pressing Windows key + Right Arrow.
- Snap Another Window: Do the same for the second window, but use the other arrow key.
The windows can also be maximized or minimized using Windows key + Up Arrow or Down Arrow. This is the best way to use for people who enjoy quick, keyboard-intensive multitasking.
Method 3: Power Splitting with Snap Layouts (Windows 11)
Snap Layouts in Windows 11 enables you to split your screen in two, three, or four sections, useful if you’ve got a big screen or working on several different things. This is how:
- Hover Over Maximize: Click a window and position your cursor over the maximize button (square at the top-right of the window).
- Choose a Layout: Choose one of the layouts displayed, e.g., two or four sections.
- Fill the Layout: The window snaps to your chosen section, and Snap Assist asks you to pick other windows for the remaining spaces.
- Resize Sections: Drag the borders between the sections to adjust the size of the layout.
Snap Layouts are excellent for splitting several apps, like spreadsheets, browsers, and notes.
Tips to Enhance Your Split Screen Setup
Make the most of split screen with these helpful tips:
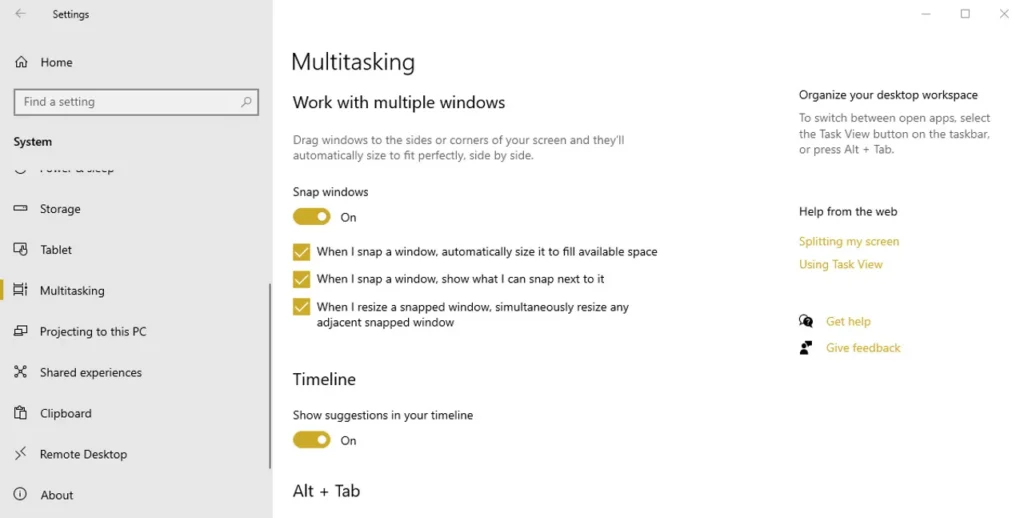
- Enable Snap: Go to Settings > System > Multitasking and turn on “Snap windows.” Configure Snap Assist settings here too.
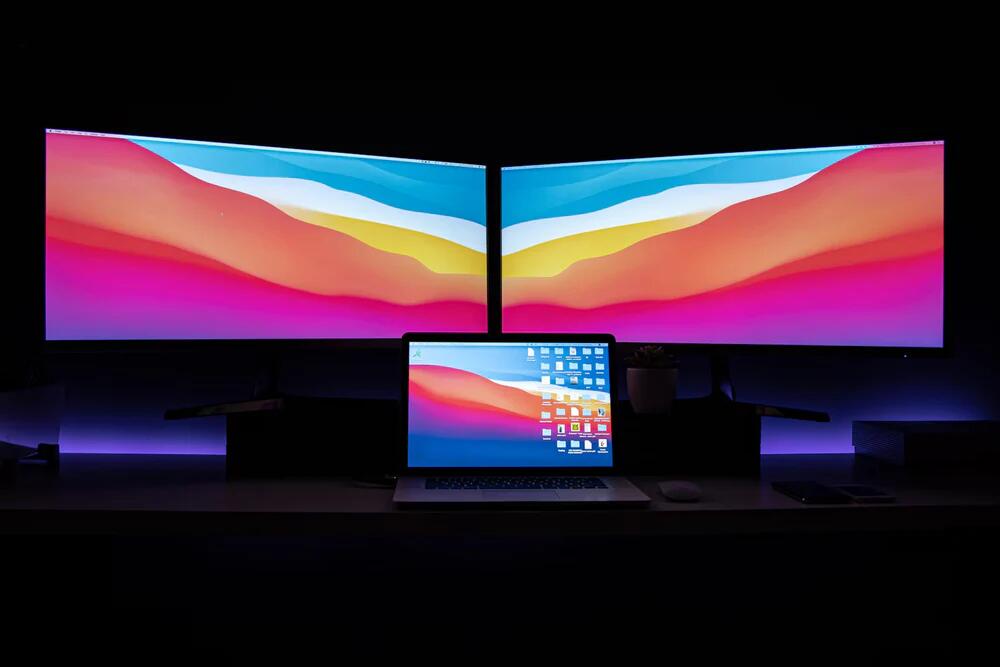
- Use Dual Monitors: Split each monitor screen for double the workspace.
- Tweak Display Settings: Resize or scale in Settings > System > Display for ultrawide or high-resolution monitors.
- Keep Windows Updated: Fix snapping issues by updating in Settings > Windows Update.
Troubleshooting Common Problems
If screen splitting isn’t working as desired, try these solutions:
- Snap Assist Not Working: Ensure Snap is enabled in Settings. If issues persist, reboot your PC or install a Windows update.
- Windows Overlapping: Realign the separator line or employ Snap Layouts for tidier splits.
- System Slowness: Close other programs or consider adding RAM for smoother multitasking.
Why Splitting Your Screen Matters
Dividing your screen saves you time and effort by having everything you need in front of you. It’s a life-saver for:
- Professionals: Review data, write reports, or track emails without having to alternate tabs.
- Students: Take notes while reading articles or viewing lectures.
- Creatives: Have reference designs open while editing.
Split screen works its magic from laptops to multi-monitors.
Conclusion
Splitting your screen on Windows is a simple way to increase productivity. With Snap Assist, keyboard shortcuts, and Snap Layouts, Windows 10 and 11 make it simple to organize apps on one screen. Use the steps above to set up your perfect split, personalize layouts, and resolve issues. As a student, professional, or simply a casual user, these methods will have you multitasking like a pro. Split your screen today and discover how much easier your work can be!
FAQs
Q1: Why is Snap Assist not showing me other windows after snapping the first one?
A: Make sure Snap Assist is enabled in Settings > System > Multitasking. If it’s already on, try restarting your PC.
Q2: Can I split my screen into more than two windows?
A: Yes! In Windows 11, Snap Layouts let you divide your screen into three or even four sections.
Q3: Do I need a special monitor to split my screen?
A: No, but ultrawide or larger monitors enhance the experience by giving each split more space.
Q4: Are there third-party apps that improve screen splitting?
A: Yes, apps like FancyZones (part of Microsoft’s PowerToys) offer more advanced window layout options.
Q5: Can I disable Snap Assist if I don’t like it?
A: Yes. Go to Settings > System > Multitasking and toggle off “Snap windows.”